crwdns2915892:0crwdne2915892:0
A step-by-step guide to removing and installing a vibration motor
crwdns2942213:0crwdne2942213:0
-
-
On the strap there is a knob. Sliding this knob towards the opposite side of the strap releases the tension on the spring bar, allowing you to pull the strap out..
-
-
-
Use the T5 Torx driver to remove the four screws on the case.
-
The case will pry easily off with just gentle hand pressure
-
-
crwdns2935267:0crwdne2935267:0Tweezers$4.99
-
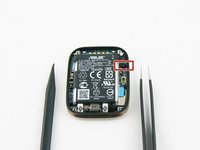
Using the tweezers, gently remove the fabric protecting the battery connection.
-
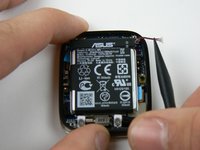
Use the heavy duty spudger to gently push the contact towards the top of the case.
-
-
-
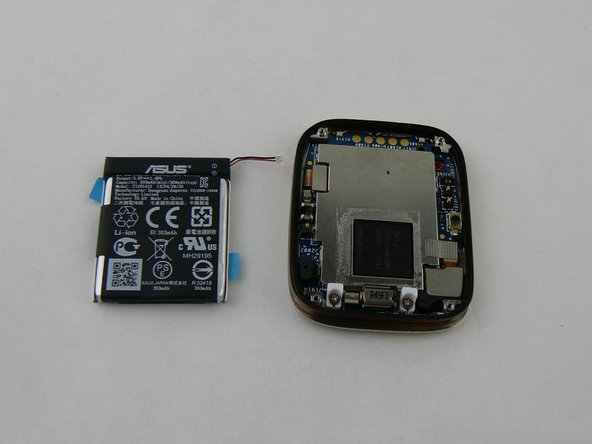
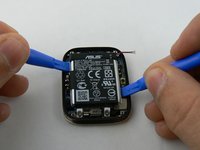
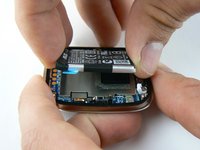
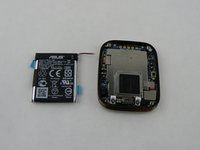
Gently pry the battery up with the plastic pry tools
-
-
-
crwdns2935267:0crwdne2935267:0Tweezers$4.99
-
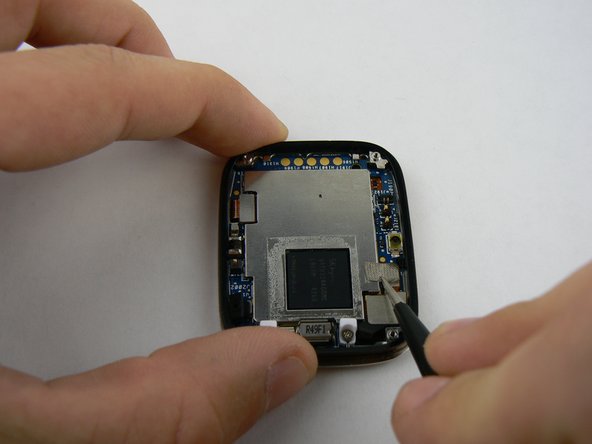
With the metal tweezers gently remove the fabric covering the connection on bottom right
-
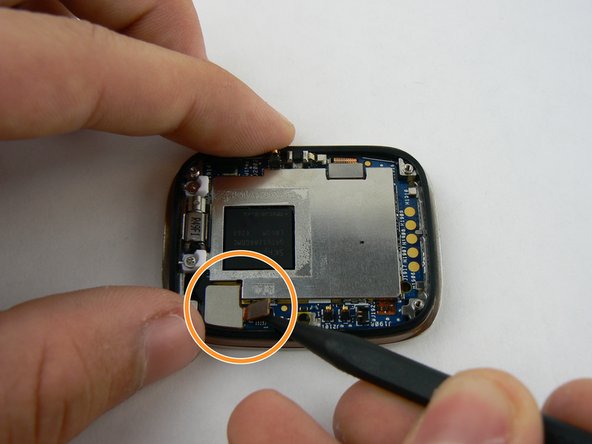
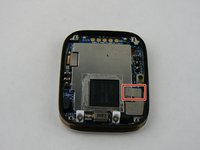
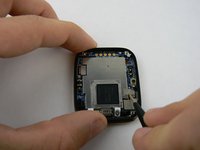
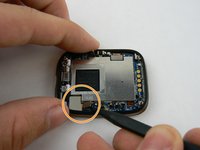
Using the heavy duty plastic spudger pry up on the connection ribbon.
-
-
crwdns2935267:0crwdne2935267:0Heavy-Duty Spudger$4.99
-
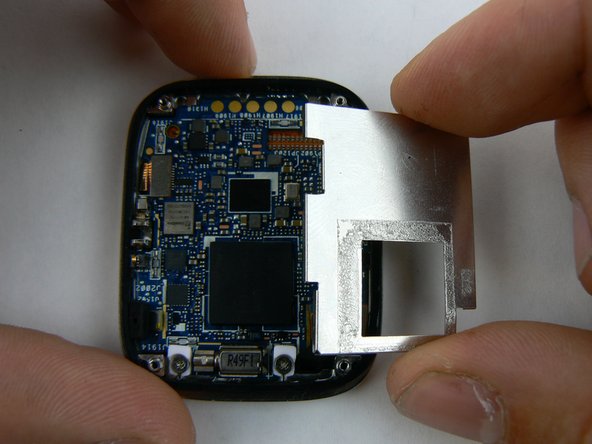
The protective plate is now ready to be safely removed.
-
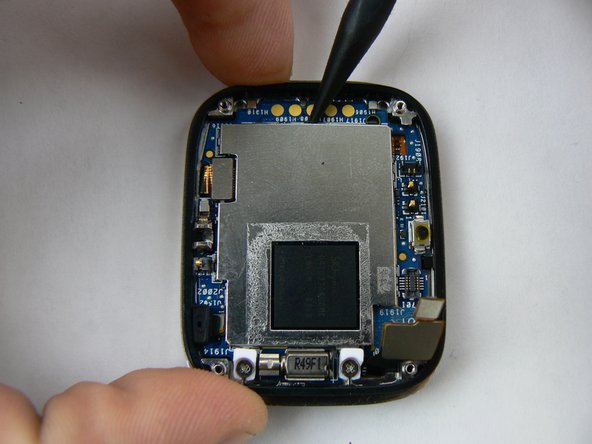
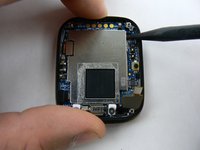
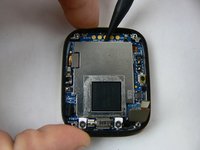
With the heavy duty spudger pry up on the metal plate, in a counter-clockwise pattern
-
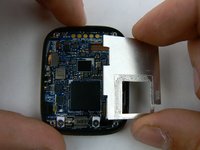
Remove loosened plate and set aside.
-
-
-
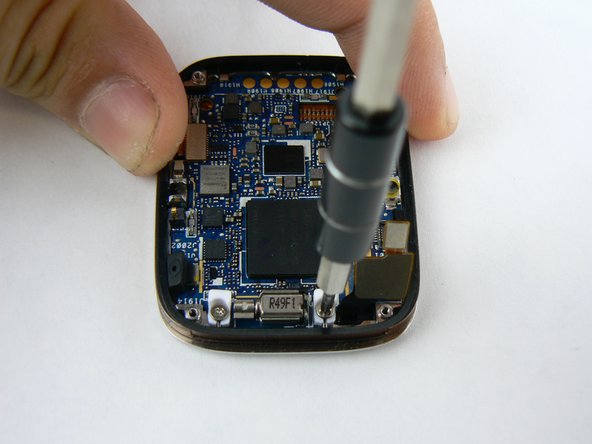
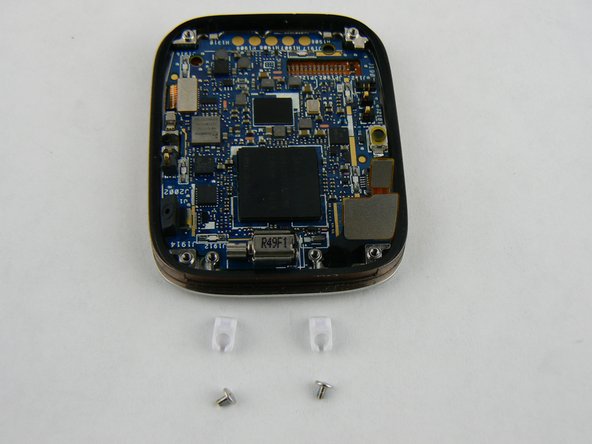
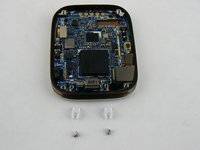
With the 000 Philips screwdriver remove the screw and plastic retainer clips
-
-
-
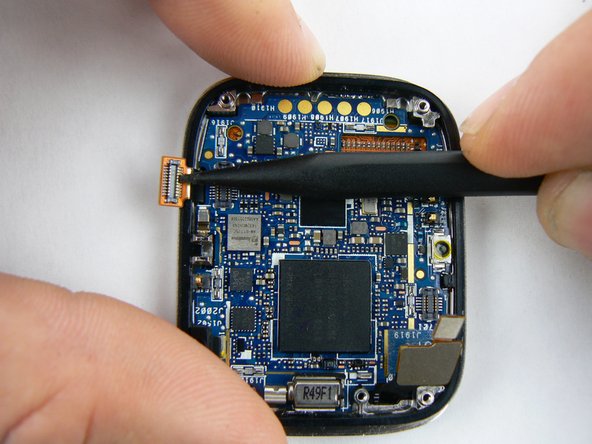
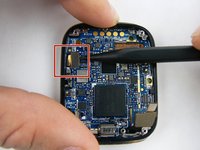
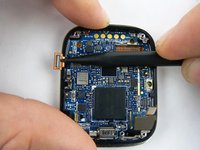
With heavy duty spudger lift up on final connection ribbon located on left corner.
-
-
-
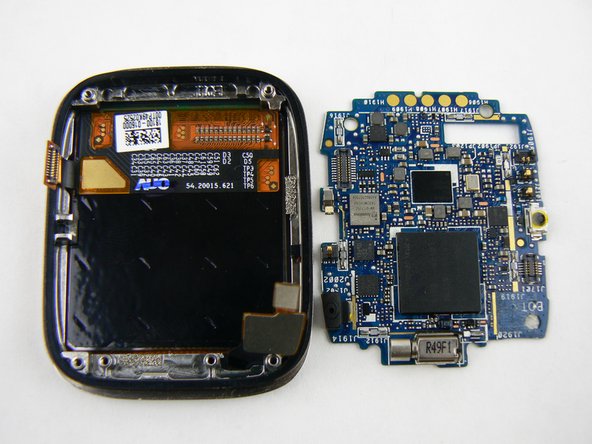
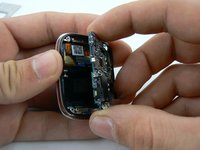
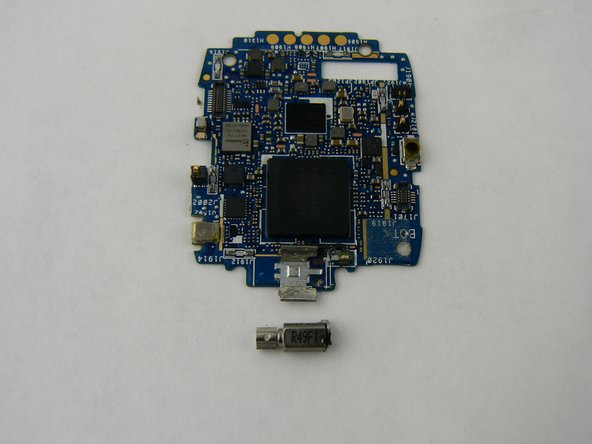
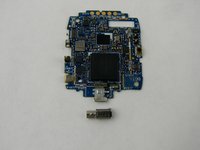
With all the connections disconnected the motherboard can be gently pried up and out of the watch case.
-
-
-
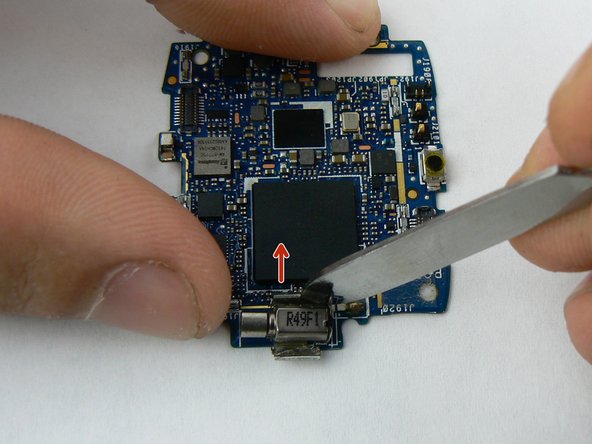
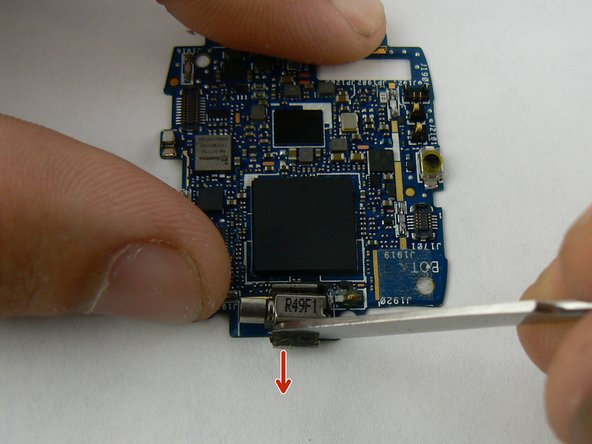
With a flat metal spudger pry back the little metal clamps that hold the motor secure.
-
-
crwdns2935267:0crwdne2935267:0Tweezers$4.99
-
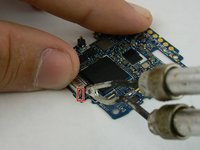
With the soldering iron, heat the two solder tabs on back of motor.
-
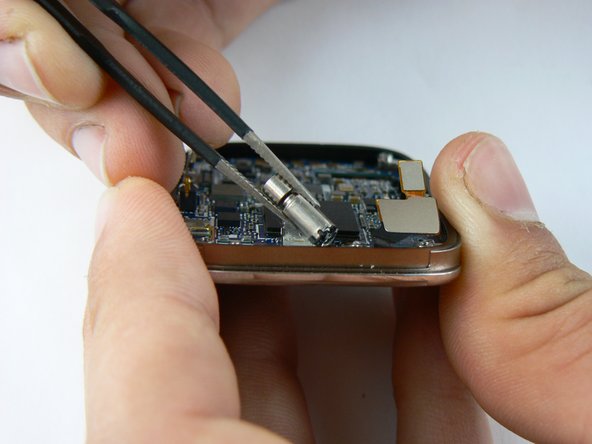
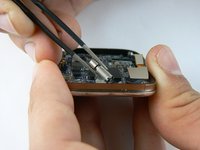
Use metal tweezers to pull up and remove motor.
-
To reassemble your device, follow these instructions in reverse order.
crwdns2935221:0crwdne2935221:0
crwdns2935227:0crwdne2935227:0


