crwdns2915892:0crwdne2915892:0
Whether you have low storage or if you just want to upgrade the storage on your Asus ZenBook Flip 15 Q528 laptop, this is a guide on how to replace the NVMe M.2 SSD drive.
A near-full SSD can significantly decrease performance and prompt "Device Full" errors. Make sure to check and delete any applications, images, or files taking unnecessary space before buying a new SSD. However, if those applications are essential programs, then upgrading the SSD is the move. Upgrading or replacing the SSD with a larger SSD can improve performance and provide more space for files.
Before getting started, be sure to backup your data from the SSD to a separate external drive before attempting. Additionally, remove all charger plugs, and of course power the laptop off.
crwdns2942213:0crwdne2942213:0
-
-
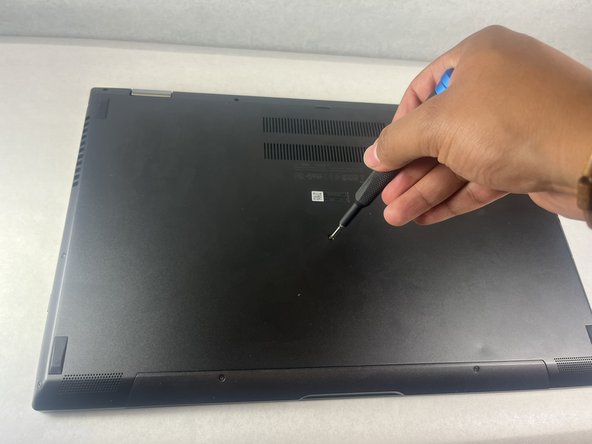
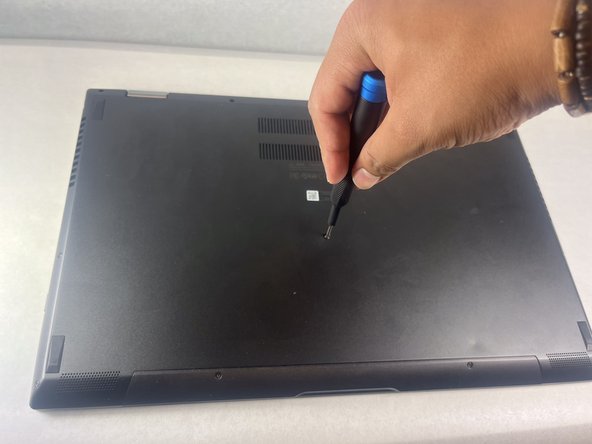
Remove all eleven screws on bottom side of laptop:
-
One 7.5 mm Phillips #00
-
Ten 3.6 mm T5 Torx
-
-
-
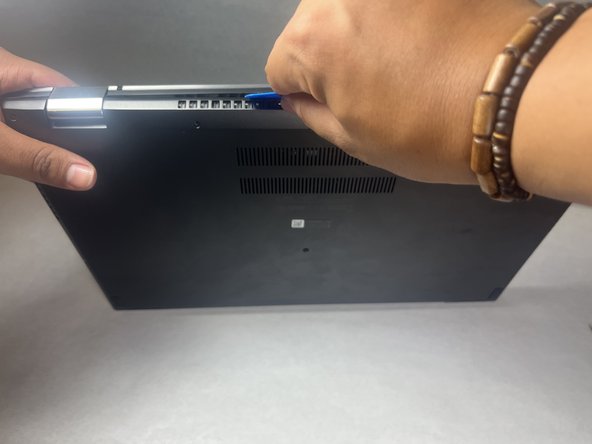
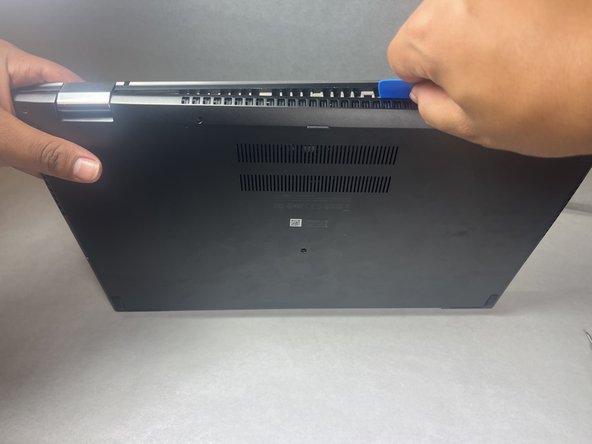
Slide opening picks under the lower case to loosen the cover.
-
Move clockwise around the cover to loosen the cover evenly.
-
Remove the lower case.
-
-
-
-
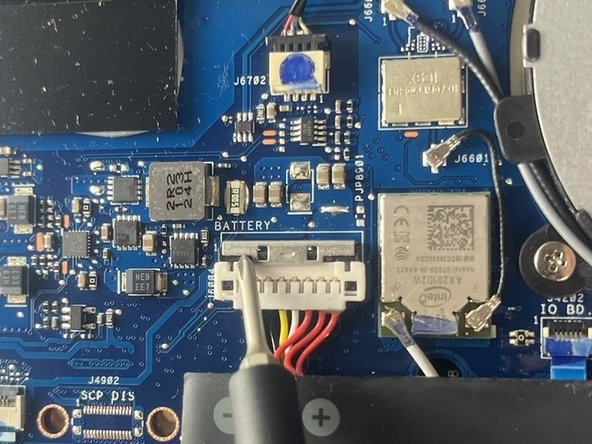
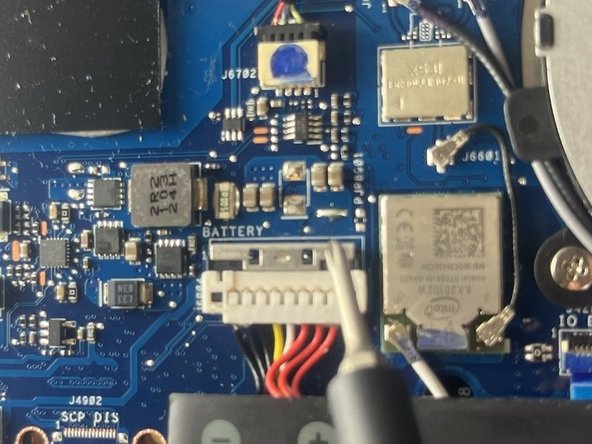
Release the battery connector by pushing upwards on the silver colored lock.
-
-
-
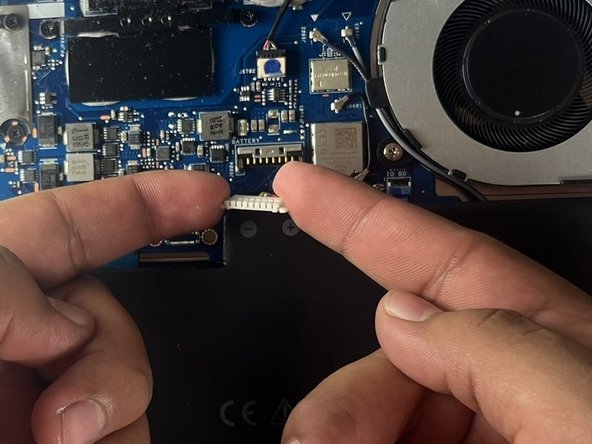
Push inwards in a pinching motion on the battery cable and slightly pull upwards to disconnect the battery connector.
-
-
-
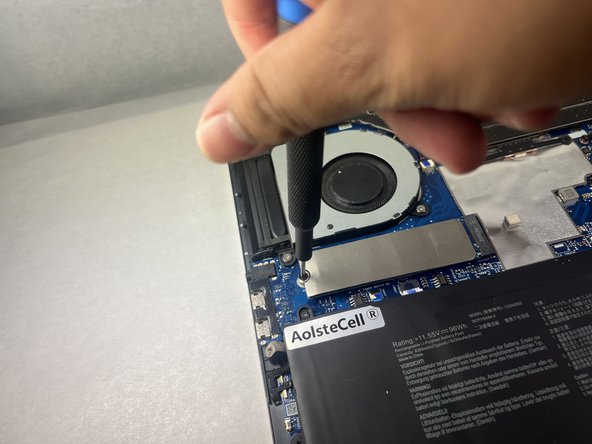
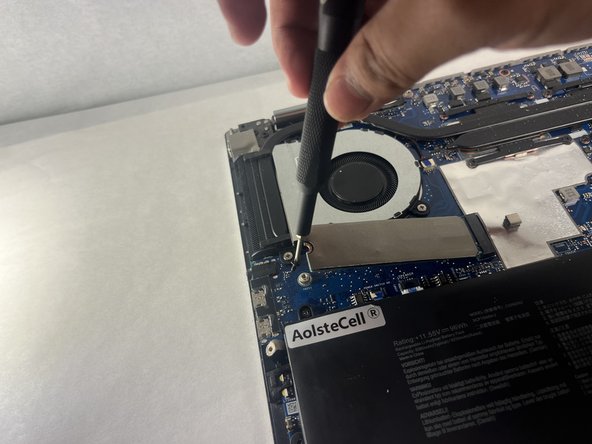
Remove the single 3 mm Phillips #00 screw securing the SSD.
-
-
-
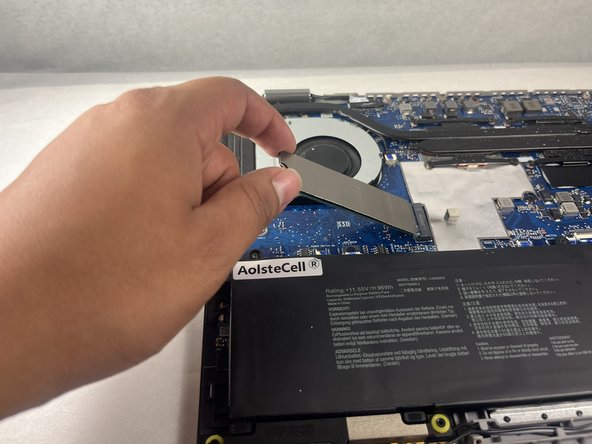
Grip the end of the SSD and pull it away from its M.2 board connector to remove it.
-


To reassemble, complete the steps in reverse order.
Hopefully, this guide was a useful resource to replace the NVMe M.2 SSD from a ASUS ZenBook Flip 15 Q528 computer within 6 quick and easy steps!
To reassemble, complete the steps in reverse order.
Hopefully, this guide was a useful resource to replace the NVMe M.2 SSD from a ASUS ZenBook Flip 15 Q528 computer within 6 quick and easy steps!

crwdns2915084:0crwdne2915084:0

UC Davis, Team 1-4, Morris Fall 2024 crwdns2935289:0UC Davis, Team 1-4, Morris Fall 2024crwdne2935289:0
UCD-MORRIS-F24S1G4
crwdns2931471:03crwdne2931471:0
crwdns2935303:01crwdne2935303:0