crwdns2915892:0crwdne2915892:0
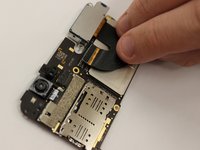
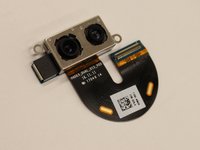
This guide will demonstrate how to replace the back camera of a Zenfone 3. This may be necessary if the camera no longer shows a picture or shows a distorted picture. For this guide, you will need the tweezers, Torx T2 screwdriver, a prying tool, and the Phillips #00 screwdriver.
crwdns2942213:0crwdne2942213:0
-
crwdns2935267:0crwdne2935267:0Tweezers$4.99
-
Using a pair of tweezers, pull put the SIM card tray and set it to the side.
-
-
-
Remove the two 2 mm screws using a Torx T2 screwdriver.
-
-
-
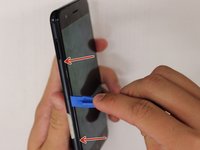
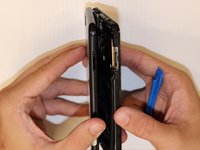
Insert a prying tool between the screen and the metal backing of the phone at the bottom to remove backing from phone.
-
-
-
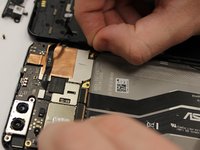
Remove the two 3 mm screws, using the Phillips #00 screwdriver, on the silver band at the top of the battery and remove the band.
-
-
-
-
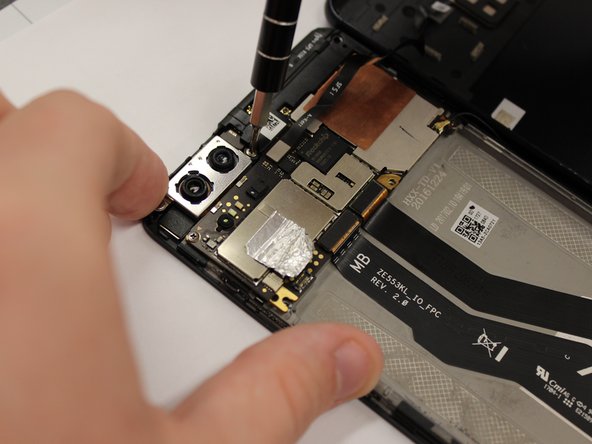
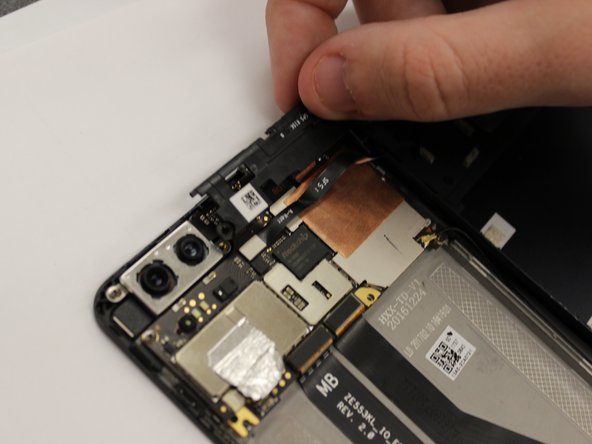
Remove the 3 mm screws, using the Phillips #00 screwdriver, from the black plastic piece at the top on the right side.
-
-
-
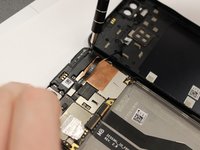
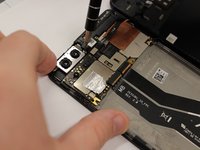
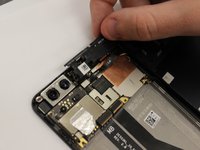
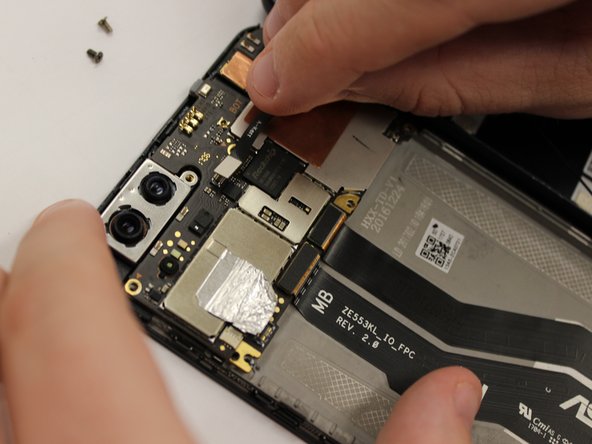
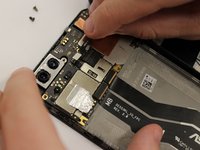
Remove the 3 mm screws, using the Phillips #00 screwdriver, from the metal piece around the camera.
-
-
-
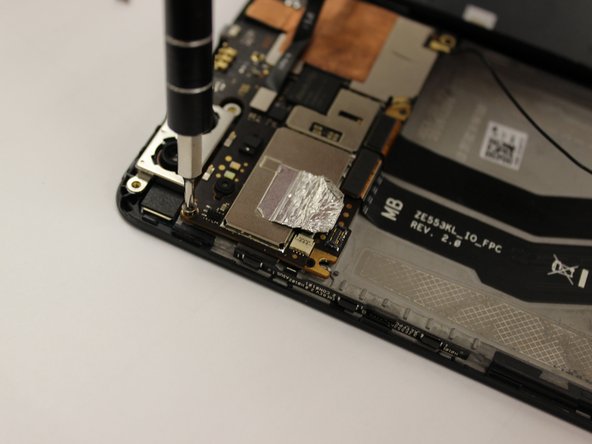
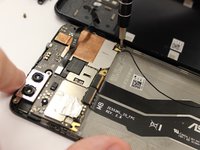
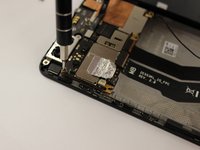
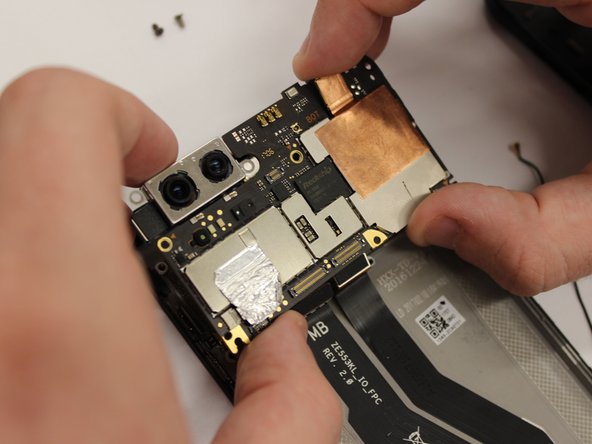
Remove the 3 mm circuit board screws, using the Phillips #00 screwdriver.
-
-
-
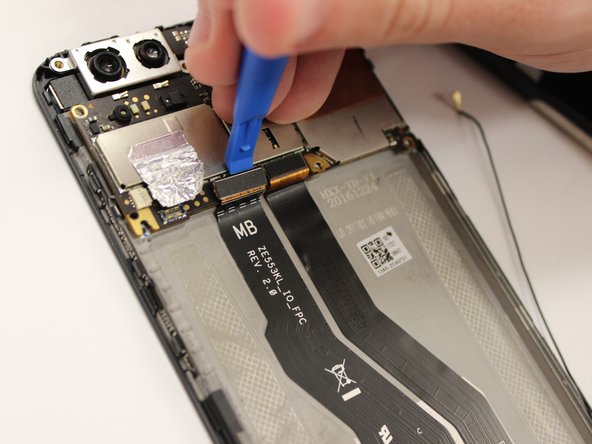
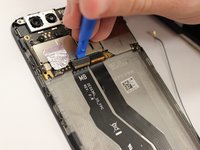
Unplug the two wires at the bottom of the circuit board.
-
To reassemble your device, follow these instructions in reverse order.
To reassemble your device, follow these instructions in reverse order.
crwdns2947412:02crwdne2947412:0
Excellent article. Just one question; who is selling this camera?
Very interesting images, my prob is , after replacing battery, camera just worked once a few minutes, then camera does not work again, why?


