crwdns2915892:0crwdne2915892:0
The fan helps get rid of the excess heat in the laptop. A damaged fan can cause overheating and poor performance. This guide explains how to replace it.
crwdns2942213:0crwdne2942213:0
-
-
Place the laptop on a flat surface with the bottom side facing upwards.
-
Using the Phillips #1 Screwdriver, remove the four 4mm screws in the back panel.
-
Using both hands, slide the back panel away from the laptop horizontally.
-
-
-
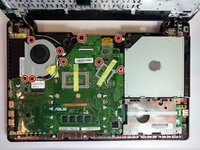
Using the Phillips #0 Screwdriver, remove the ten 2mm screws at the marked locations.
-
-
-
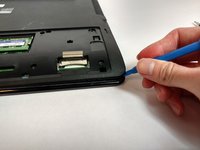
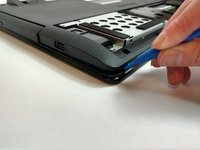
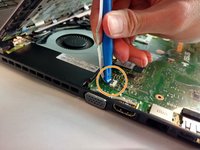
Using the plastic opening tool, open the back cover of the laptop.
-
-
-
-
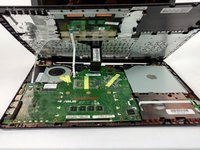
Locate the three ribbon connectors.
-
Using the plastic opening tool, flip up all three gray tabs and remove the ribbon connectors from the motherboard.
-
-
-
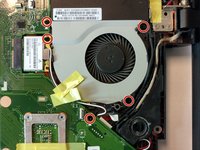
Using the Phillips #0 Screwdriver, remove the nine 2mm screws at the marked locations.
-
-
-
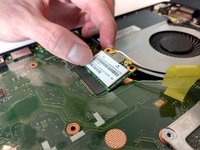
Disconnect the WLAN Card from the motherboard by pulling the connector upwards.
-
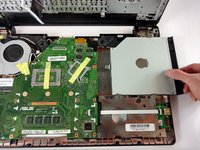
Disconnect the optical drive from the motherboard by sliding it to the right.
-
-
crwdns2935267:0crwdne2935267:0Tweezers$4.99
-
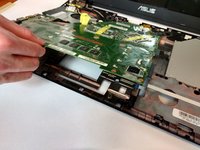
Flip the motherboard to show the underside.
-
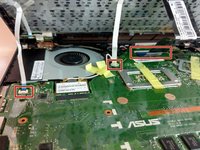
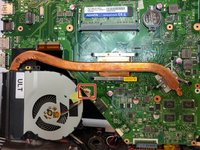
Locate the square fan connection attached to the motherboard.
-
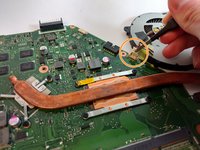
Disconnect it using the tweezers (blunt).
-
-
-
Remove the black tape from the fan as seen in the marked location.
-
To reassemble your device, follow these instructions in reverse order.
To reassemble your device, follow these instructions in reverse order.
crwdns2935221:0crwdne2935221:0
crwdns2935227:0crwdne2935227:0


