crwdns2915892:0crwdne2915892:0
Be sure to follow all steps carefully, keep track of screws, and be gentle with ribbon cables/ plastic clips to successfully repair the LCD screen.
crwdns2942213:0crwdne2942213:0
crwdns2936621:0crwdne2936621:0
-
-
Power off laptop.
-
Flip over the laptop so the model stickers are pointing towards the ceiling, and the back of the laptop is facing you.
-
-
-
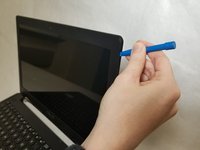
Carefully insert a plastic opening tool into the top edge of the plastic cover. Slowly run the tool along the top edge to allow several small plastic clips to release.
-
Lift the plastic cover off and set it aside.
-
-
crwdns2935267:0crwdne2935267:0Tweezers$4.99
-
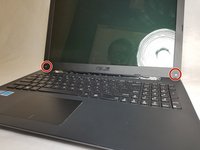
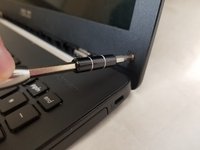
Using tweezers, remove the (2) two magnetic tabs covering the screws on the screen.
-
-
-
-
Use a JIS #0 screwdriver to remove the two 4.5mm screws.
-
-
-
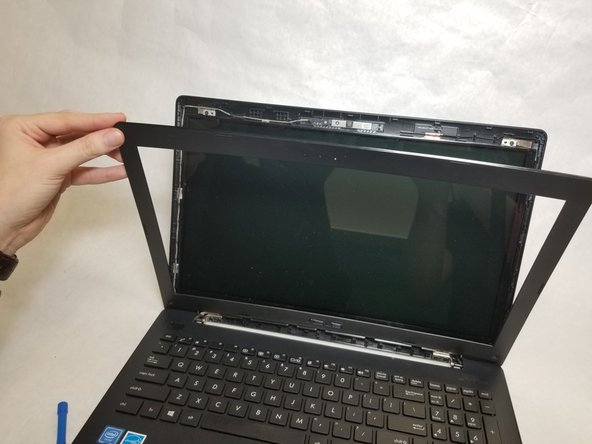
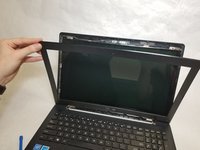
Insert a plastic opening tool under the edge of the laptop lid.
-
Carefully pop out the sides of the laptop by running the plastic opening tool along the edge.
-
-
-
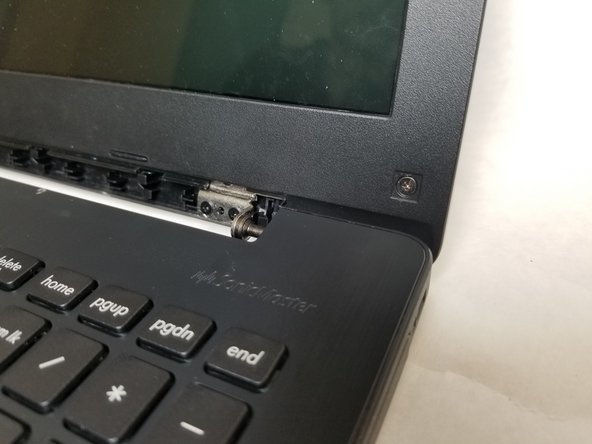
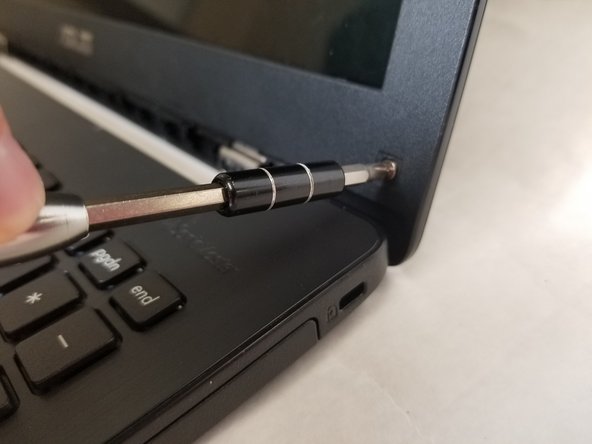
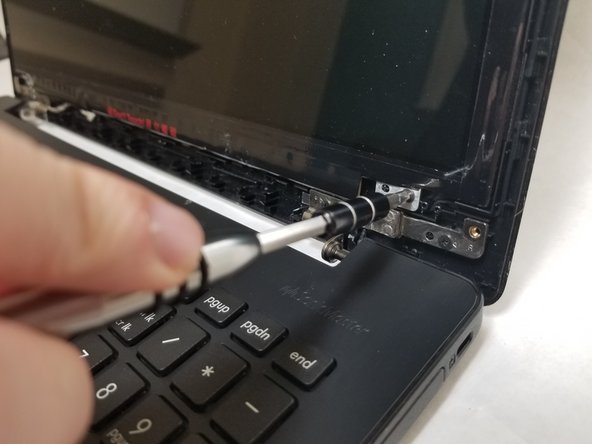
Use a JIS #0 screwdriver to unscrew the four 3.5mm screws.
-
-
-
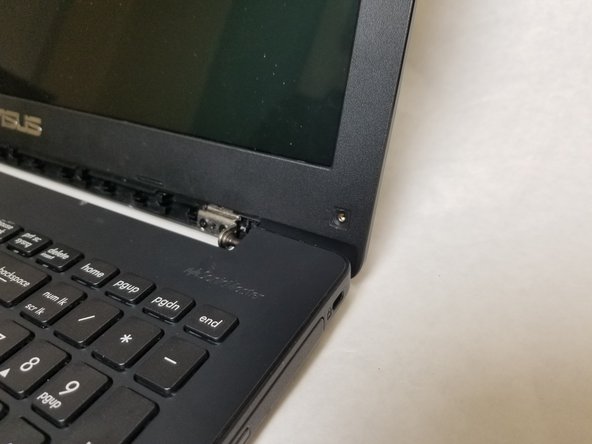
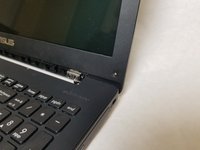
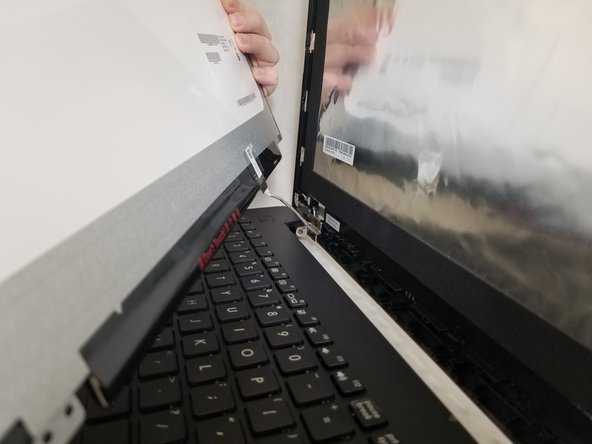
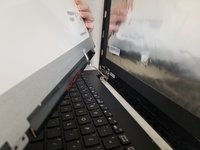
Carefully lift up the LCD screen.
-
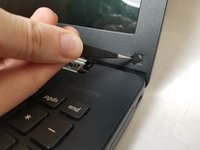
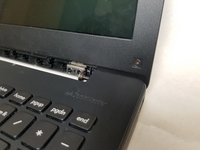
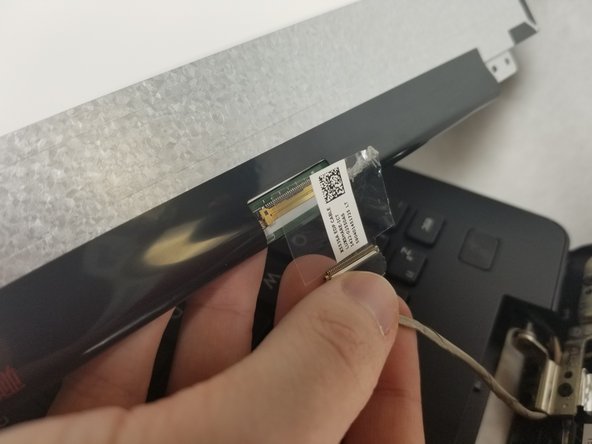
Carefully remove the cable connecting the LCD to the laptop by popping up the white clip on the laptop and sliding the connector out.
-


To reassemble your device, follow these instructions in reverse order.
crwdns2935287:0crwdne2935287:0

IUPUI, Team S2-G4, Harley Fall 2018 crwdns2935289:0IUPUI, Team S2-G4, Harley Fall 2018crwdne2935289:0
IUPUI-HARLEY-F18S2G4
crwdns2931471:03crwdne2931471:0
crwdns2935297:02crwdne2935297:0