crwdns2933423:0crwdne2933423:0
crwdns2947577:0crwdnd2947577:0crwdne2947577:0

ASUS X502CA Screen Replacement

crwdns2942213:0crwdne2942213:0

    1. ASUS X502CA Screen Replacement, Screen: crwdns2935265:01crwdnd2935265:01crwdnd2935265:02crwdne2935265:0 ASUS X502CA Screen Replacement, Screen: crwdns2935265:01crwdnd2935265:02crwdnd2935265:02crwdne2935265:0
      crwdns2935267:0crwdne2935267:0
      Tweezers
      $4.99
      • Remove plastic square covers on both bottom corners exposing the screws below using tweezers.

      • Remove the screws under the plastic square covers, using a Phillips #00 screwdriver.

      • Screws are black, 50mm in lenght with a 20mm diameter.

      crwdns2952109:0crwdne2952109:0

      crwdns2917038:0crwdne2917038:0

    2. ASUS X502CA Screen Replacement: crwdns2935265:02crwdnd2935265:01crwdnd2935265:02crwdne2935265:0 ASUS X502CA Screen Replacement: crwdns2935265:02crwdnd2935265:02crwdnd2935265:02crwdne2935265:0
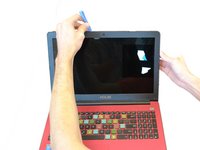
      • Remove the trim from the monitor by using the Plastic Opening Tool to carefully pop off the clips around the parameter.

      crwdns2952109:0crwdne2952109:0

      crwdns2917038:0crwdne2917038:0

    3. ASUS X502CA Screen Replacement: crwdns2935265:03crwdnd2935265:01crwdnd2935265:02crwdne2935265:0 ASUS X502CA Screen Replacement: crwdns2935265:03crwdnd2935265:02crwdnd2935265:02crwdne2935265:0
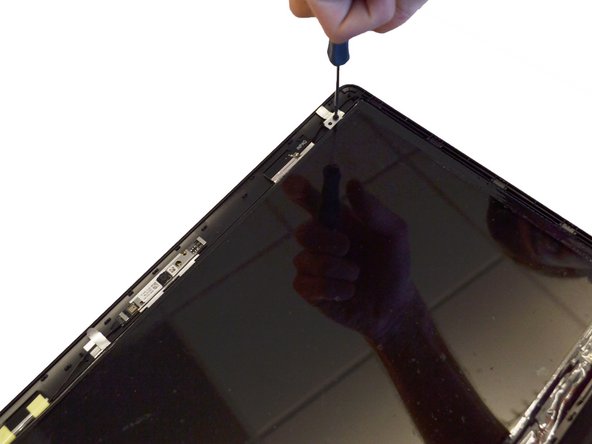
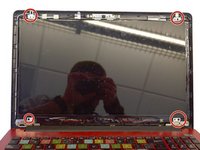
      • Remove the four phillips screws (two on top and two on bottom) using the Phillips #00 screwdriver.

      • The screws are black, 45mm long and 15mm in diameter with a philips head

      crwdns2952109:0crwdne2952109:0

      crwdns2917038:0crwdne2917038:0

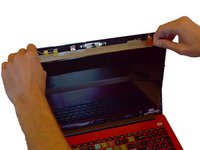
    4. ASUS X502CA Screen Replacement: crwdns2935265:04crwdnd2935265:01crwdnd2935265:02crwdne2935265:0 ASUS X502CA Screen Replacement: crwdns2935265:04crwdnd2935265:02crwdnd2935265:02crwdne2935265:0
      • Pop the screen out from the top and lay flat on the keyboard.

      • Do not pull screen away from keyboard, as it is still attached by a wire at the bottom.

      crwdns2952109:0crwdne2952109:0

      crwdns2917038:0crwdne2917038:0

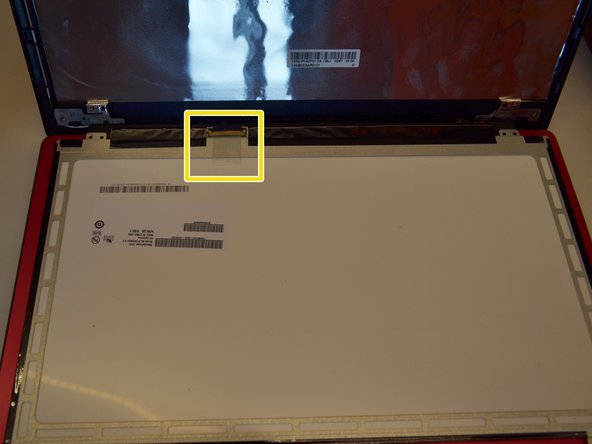
    5. ASUS X502CA Screen Replacement: crwdns2935265:05crwdnd2935265:01crwdnd2935265:02crwdne2935265:0 ASUS X502CA Screen Replacement: crwdns2935265:05crwdnd2935265:02crwdnd2935265:02crwdne2935265:0
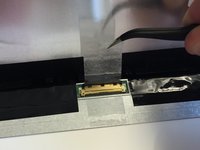
      • Peel off the clear tape that is securing the video cable connector using your fingers or tweezers.

      crwdns2952109:0crwdne2952109:0

      crwdns2917038:0crwdne2917038:0

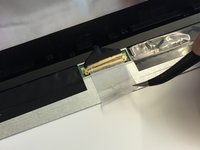
    6. ASUS X502CA Screen Replacement: crwdns2935265:06crwdnd2935265:01crwdnd2935265:02crwdne2935265:0 ASUS X502CA Screen Replacement: crwdns2935265:06crwdnd2935265:02crwdnd2935265:02crwdne2935265:0
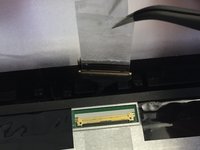
      • Unplug the screen using tweezers.

      crwdns2952109:0crwdne2952109:0

      crwdns2917038:0crwdne2917038:0

    7. ASUS X502CA Screen Replacement: crwdns2935265:07crwdnd2935265:01crwdnd2935265:01crwdne2935265:0
      • Replace the damage screen with a new one.

      • Replacing the bezel trim requires the bottom to be inside the ends of the hinge cover. Be careful not to break the bezel when doing this.

      • Removing the hinge cover has a chance of breaking the tabs that hold it on. Remove it carefully.

      crwdns2952109:0crwdne2952109:0

      crwdns2917038:0crwdne2917038:0

crwdns2915888:0crwdne2915888:0

To reassemble your device, follow these instructions in reverse order.

crwdns2935221:0crwdne2935221:0

crwdns2935229:03crwdne2935229:0

Anthony Taylor

crwdns2935283:001/28/15crwdne2935283:0

354 crwdns2915208:0crwdne2915208:0

crwdns2935297:02crwdne2935297:0

crwdns2935287:0crwdne2935287:0

Clemson, Team 14-1, Shirley Winter 2015 crwdns2935289:0Clemson, Team 14-1, Shirley Winter 2015crwdne2935289:0

CLEM-SHIRLEY-W15S14G1

crwdns2931471:05crwdne2931471:0

crwdns2935297:060crwdne2935297:0

crwdns2947412:00crwdne2947412:0

crwdns2917038:0crwdne2917038:0

crwdns2936625:0crwdne2936625:0:

crwdns2936751:024crwdne2936751:0 2

crwdns2936753:07crwdne2936753:0 12

crwdns2936753:030crwdne2936753:0 38

crwdns2942667:0crwdne2942667:0 3,844