crwdns2915892:0crwdne2915892:0
The screen is one of the most important parts of a laptop, as you won't be able to see anything you're doing without it, which is kind of the point. The disassembly isn't too complicated, there's just a lot of screws that need to be removed.
crwdns2942213:0crwdne2942213:0
-
crwdns2935267:0crwdne2935267:0Metal Spudger$2.99
-
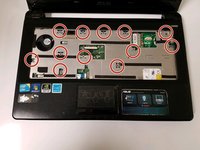
Using a Spudger, gently pry up the keyboard.
-
-
crwdns2935267:0crwdne2935267:0Nylon Tipped Tweezers$4.99
-
Rotate the keyboard to face downward.
-
Pull out the blue wiring connection. Use tweezers to make it easier to remove.
-
-
-
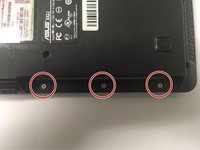
Use the Phillips #0 screwdriver to remove the two screws on the back of the laptop.
-
-
-
-
Slide the disk drive out of the device.
-
-
-
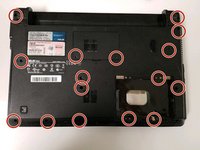
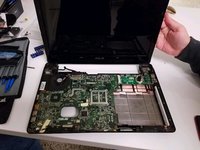
On both the front and back panel, remove every screw you see.
-
-
-
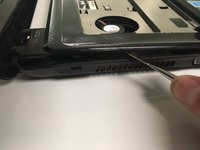
Use the spudger to pry up the front panel from the back panel.
-
-
-
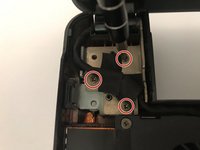
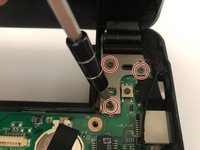
Using the Philips screwdriver, unscrew the screws shown in the pictures.
-
Unplug the wire connecting the screen to the motherboard.
-
-
-
Take the screen off by pulling it straight up off the bottom.
-


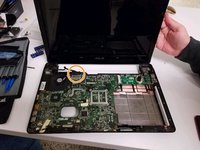

To reassemble your device, follow these instructions in reverse order.
crwdns2935221:0crwdne2935221:0
crwdns2935227:0crwdne2935227:0
crwdns2935287:0crwdne2935287:0

University of North Texas, Team S6-G2, Thompson Fall 2018 crwdns2935289:0University of North Texas, Team S6-G2, Thompson Fall 2018crwdne2935289:0
UNT-THOMPSON-F18S6G2
crwdns2931471:04crwdne2931471:0
crwdns2935297:06crwdne2935297:0