crwdns2942213:0crwdne2942213:0
-
crwdns2935267:0crwdne2935267:0Metal Spudger$2.99
-
Using a Spudger, gently pry up the keyboard.
-
-
crwdns2935267:0crwdne2935267:0Nylon Tipped Tweezers$4.99
-
Rotate the keyboard to face downward.
-
Pull out the blue wiring connection. Use tweezers to make it easier to remove.
-
-
-
Use the Phillips #0 screwdriver to remove the two screws on the back of the laptop.
-
-
-
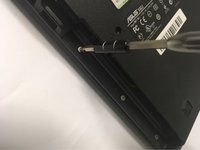
Slide the disk drive out of the device.
-
-
-
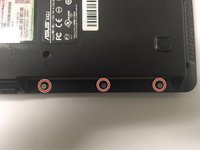
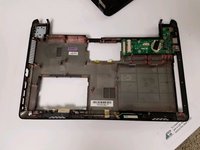
Remove all screws located on the bottom plate of the laptop, beginning with the three located underneath the disc drive.
-
-
-
-
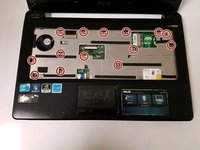
Rotate the laptop until it is sitting face up and extract all screws exposed by removing the keyboard.
-
-
crwdns2935267:0crwdne2935267:0Metal Spudger$2.99
-
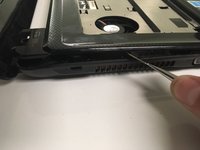
Pull up on the front panel using the spudger until the front panel separates from the bottom panel.
-
-
-
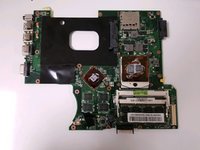
Unscrew and remove the marked screws.
-
-
-
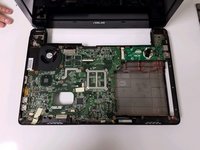
Remove the motherboard from the device.
-
-
-
Unscrew the six screws using the Phillips #0 Screwdriver.
-
-
-
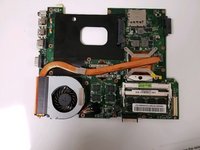
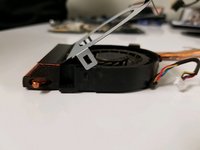
Unplug the fan's wires from the motherboard.
-
-
-
Remove the fan from the motherboard.
-


To reassemble your device, follow these instructions in reverse order.
To reassemble your device, follow these instructions in reverse order.
crwdns2915084:0crwdne2915084:0

University of North Texas, Team S6-G2, Thompson Fall 2018 crwdns2935289:0University of North Texas, Team S6-G2, Thompson Fall 2018crwdne2935289:0
UNT-THOMPSON-F18S6G2
crwdns2931471:04crwdne2931471:0
crwdns2935297:06crwdne2935297:0
crwdns2947410:01crwdne2947410:0
First step is wrong; attempting to prise out the keyboard will damage it. First step should be to remove the screws which hold in the keyboard.