crwdns2915892:0crwdne2915892:0
If your ASUS VivoBook S400C is producing unclear or no audio, use this guide to replace the speakers.
The built-in speakers can produce audio without the need to plug in any additional devices.
Before using this guide, make sure nothing is plugged into the headphone jack and that the volume of both the computer and the media being played is at a high value. You can troubleshoot audio problems by right clicking the sound icon in the taskbar and selecting “Troubleshoot sound problems”. Try playing different types of media from different sources.
The speakers in this system are wired together so they are not individually replaceable but must be replaced as a pair.
Before beginning, make sure to power off your laptop completely and disconnect from any external power source.
crwdns2942213:0crwdne2942213:0
-
-
Flip the device over and remove the ten 5.7 mm screws with a Phillips #0 screwdriver.
-
-
-
Use a spudger or your fingers to go around and lift the edges and release the back panel.
-
-
-
Using a spudger, lift up the plug connecting the battery to the motherboard.
-
-
-
With a Phillips #0 screwdriver, remove the four 5.7 mm screws holding the battery to the laptop.
-
-
-
Carefully lift the battery up and out of the device.
-
-
-
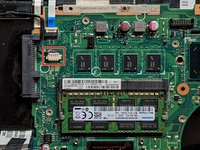
Remove the three Phillips #0 screws holding the the hard drive in place:
-
Two 3.8 mm screws.
-
One 5.7 mm screw.
-
-
-
-
Pull left and lift out the hard drive.
-
-
-
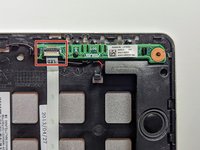
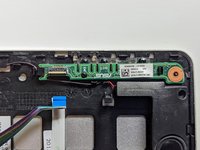
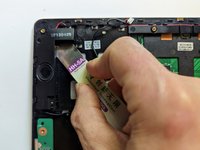
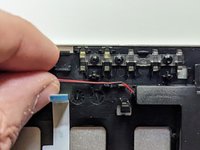
Disconnect the ribbon cable connecting the LED daughterboard and the motherboard by lifting the white tab on the LED side of the cable.
-
-
-
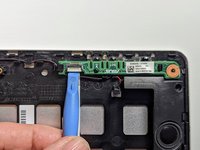
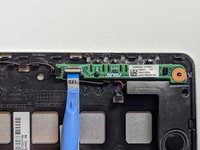
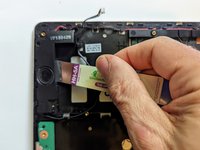
Pull out the ribbon cable on the LED side by pulling on the blue tab.
-
-
-
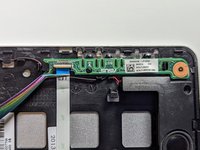
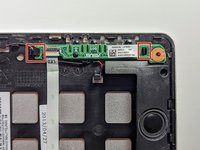
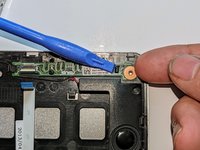
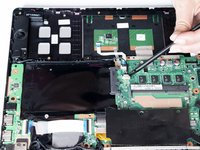
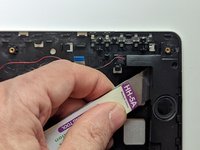
The LED board is held in place by a hook on the left end and a latch on the right.
-
Press the latch with a spudger while lifting with a fingernail.
-
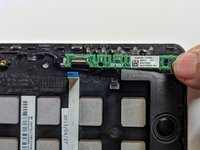
Pull the LED board to the right to clear the left-hand hook.
-
-
-
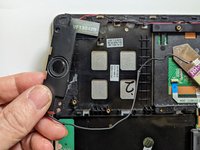
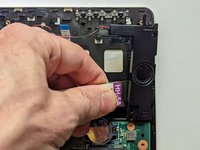
Pull out the black cable connecting the motherboard to the speakers.
-
-
-
Deroute the speaker wire from the motherboard to the left speaker.
-
-
-
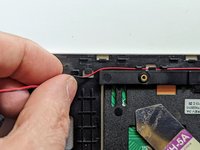
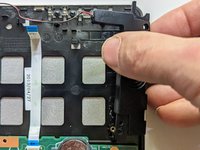
Using a metal opening tool, pry off the left speaker.
-
-
-
Deroute the wires from the left speaker to the right.
-
-
-
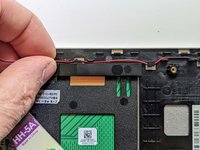
Continue to deroute the speaker wire to the right speaker.
-
-
-
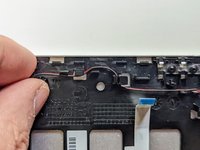
Using a metal opening tool, pry off the right speaker.
-


To reassemble your device, follow these instructions in reverse order.
To reassemble your device, follow these instructions in reverse order.
crwdns2935221:0crwdne2935221:0
crwdns2935227:0crwdne2935227:0
