crwdns2933423:0crwdne2933423:0

ASUS TUF Gaming FX505DY Keyboard Replacement

crwdns2942213:0crwdne2942213:0

  1. ASUS TUF Gaming FX505DY Keyboard Replacement, Back Case: crwdns2935265:01crwdnd2935265:01crwdnd2935265:01crwdne2935265:0
    • Turn off the laptop.

    • Disconnect the charging cable.

    • Failure to disconnect the charging cable and power down the computer could result in personal or property damage.

    • Flip the laptop so the back is facing up.

  2. ASUS TUF Gaming FX505DY Keyboard Replacement: crwdns2935265:02crwdnd2935265:01crwdnd2935265:02crwdne2935265:0 ASUS TUF Gaming FX505DY Keyboard Replacement: crwdns2935265:02crwdnd2935265:02crwdnd2935265:02crwdne2935265:0
    • Use a Phillips #1 screwdriver to remove the five 6 mm screws that secure the back panel.

    • Use the same screwdriver to remove the six 13 mm screws securing the back panel.

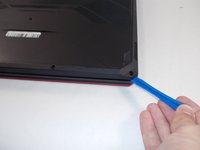
  3. ASUS TUF Gaming FX505DY Keyboard Replacement: crwdns2935265:03crwdnd2935265:01crwdnd2935265:02crwdne2935265:0 ASUS TUF Gaming FX505DY Keyboard Replacement: crwdns2935265:03crwdnd2935265:02crwdnd2935265:02crwdne2935265:0
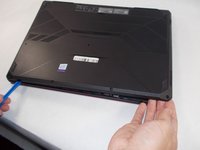
    • Insert the plastic opening tool at a corner and pry up along the edges, leaving the back side with the hinges for last.

    • Do not insert the opening tool too far into the laptop to avoid damaging internal components.

  4. ASUS TUF Gaming FX505DY Keyboard Replacement: crwdns2935265:04crwdnd2935265:01crwdnd2935265:02crwdne2935265:0 ASUS TUF Gaming FX505DY Keyboard Replacement: crwdns2935265:04crwdnd2935265:02crwdnd2935265:02crwdne2935265:0
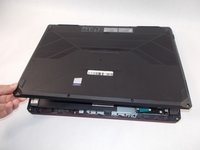
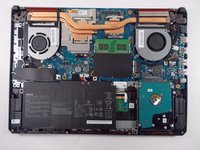
    • Gently lift up the back panel to release any remaining clips on the side with the hinges and remove the panel.

  5. ASUS TUF Gaming FX505DY Keyboard Replacement, Display Assembly: crwdns2935265:05crwdnd2935265:01crwdnd2935265:03crwdne2935265:0 ASUS TUF Gaming FX505DY Keyboard Replacement, Display Assembly: crwdns2935265:05crwdnd2935265:02crwdnd2935265:03crwdne2935265:0 ASUS TUF Gaming FX505DY Keyboard Replacement, Display Assembly: crwdns2935265:05crwdnd2935265:03crwdnd2935265:03crwdne2935265:0
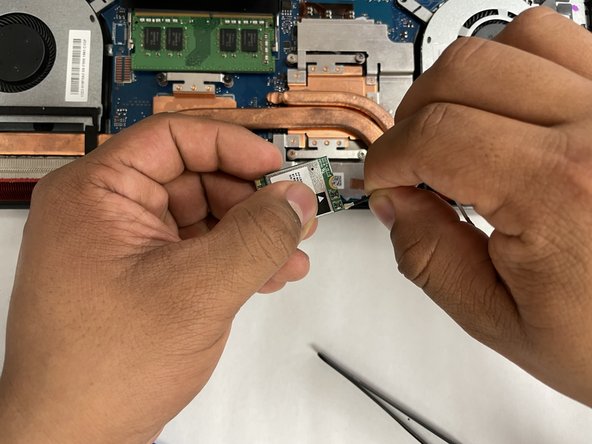
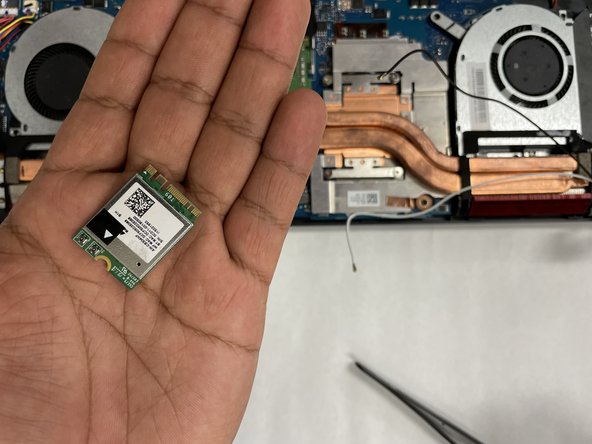
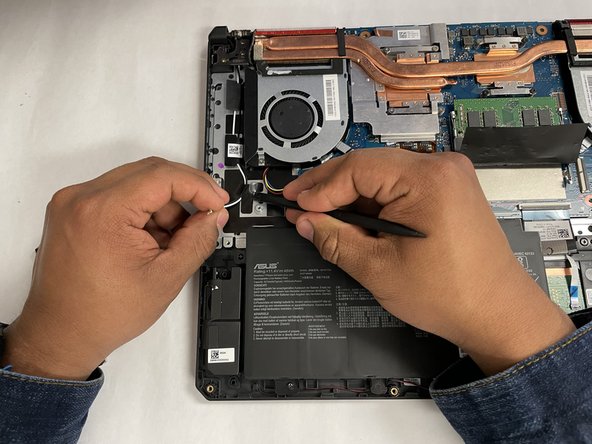
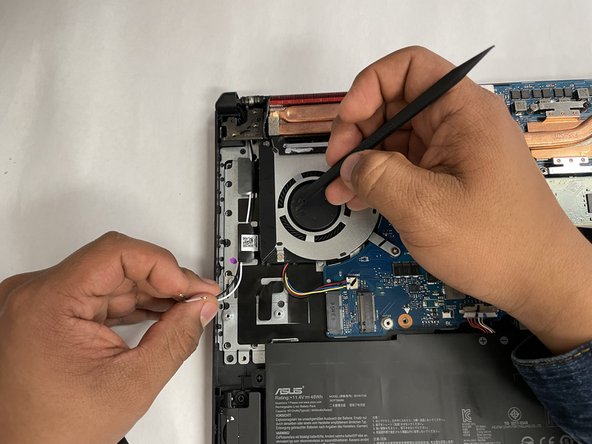
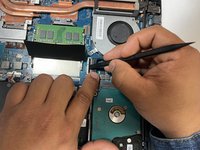
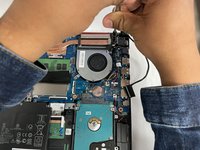
    • Disconnect the white and black wires from the Wi-Fi chip

  6. ASUS TUF Gaming FX505DY Keyboard Replacement: crwdns2935265:06crwdnd2935265:01crwdnd2935265:03crwdne2935265:0 ASUS TUF Gaming FX505DY Keyboard Replacement: crwdns2935265:06crwdnd2935265:02crwdnd2935265:03crwdne2935265:0 ASUS TUF Gaming FX505DY Keyboard Replacement: crwdns2935265:06crwdnd2935265:03crwdnd2935265:03crwdne2935265:0
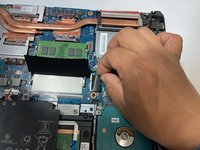
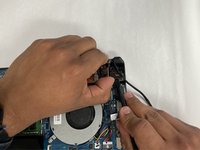
    • Remove the white and black wires from the black tape.

  7. ASUS TUF Gaming FX505DY Keyboard Replacement: crwdns2935265:07crwdnd2935265:01crwdnd2935265:03crwdne2935265:0 ASUS TUF Gaming FX505DY Keyboard Replacement: crwdns2935265:07crwdnd2935265:02crwdnd2935265:03crwdne2935265:0 ASUS TUF Gaming FX505DY Keyboard Replacement: crwdns2935265:07crwdnd2935265:03crwdnd2935265:03crwdne2935265:0
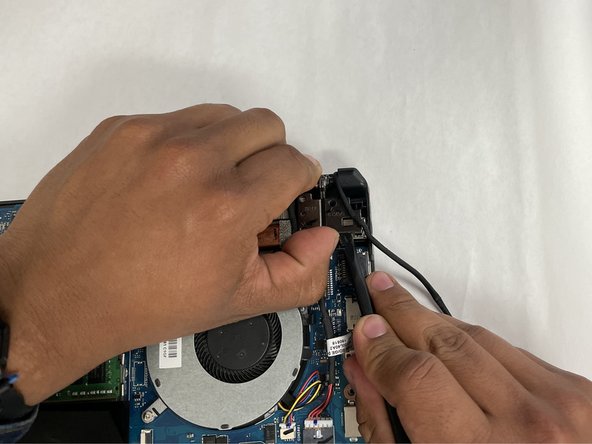
    • Unhinge and pull the display cable from the mother board.

    • The port should be labeled "LVDS" and located between the cooling fan and the hard drive.

  8. ASUS TUF Gaming FX505DY Keyboard Replacement: crwdns2935265:08crwdnd2935265:01crwdnd2935265:03crwdne2935265:0 ASUS TUF Gaming FX505DY Keyboard Replacement: crwdns2935265:08crwdnd2935265:02crwdnd2935265:03crwdne2935265:0 ASUS TUF Gaming FX505DY Keyboard Replacement: crwdns2935265:08crwdnd2935265:03crwdnd2935265:03crwdne2935265:0
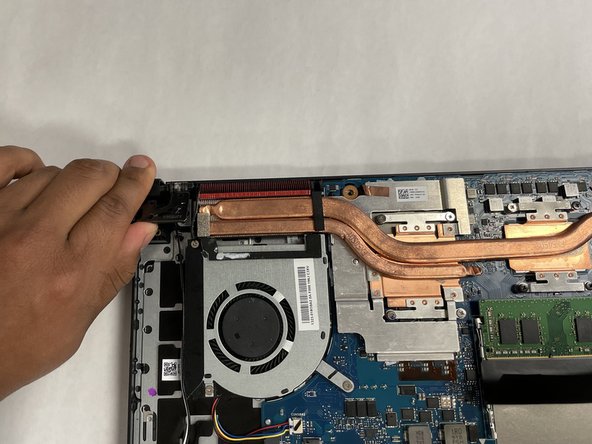
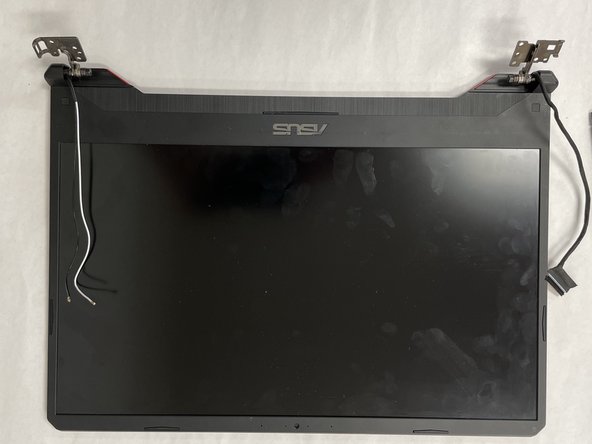
    • Unscrew and lift the hinge.

    • Some hinges may be tough to pull, proceed with caution.

  9. ASUS TUF Gaming FX505DY Keyboard Replacement: crwdns2935265:09crwdnd2935265:01crwdnd2935265:02crwdne2935265:0 ASUS TUF Gaming FX505DY Keyboard Replacement: crwdns2935265:09crwdnd2935265:02crwdnd2935265:02crwdne2935265:0
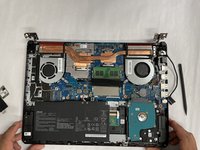
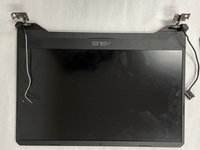
    • Unhinge the other side, and remove the display from the rest of the computer.

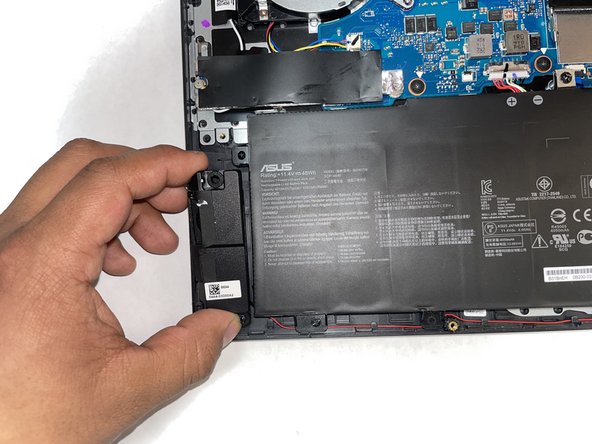
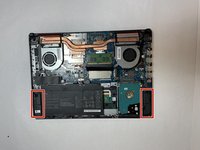
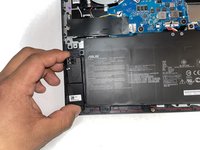
  10. ASUS TUF Gaming FX505DY Keyboard Replacement, Speakers: crwdns2935265:010crwdnd2935265:01crwdnd2935265:02crwdne2935265:0 ASUS TUF Gaming FX505DY Keyboard Replacement, Speakers: crwdns2935265:010crwdnd2935265:02crwdnd2935265:02crwdne2935265:0
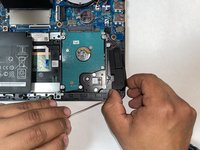
    • Lift the speakers from the pegs holding them down. Use minimal force as to not break the pegs or the speakers.

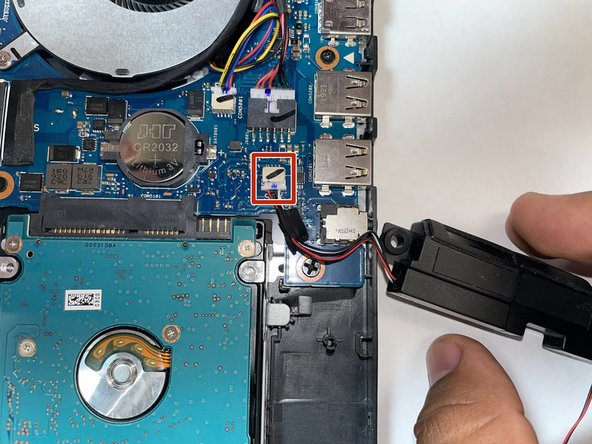
  11. ASUS TUF Gaming FX505DY Keyboard Replacement: crwdns2935265:011crwdnd2935265:01crwdnd2935265:02crwdne2935265:0 ASUS TUF Gaming FX505DY Keyboard Replacement: crwdns2935265:011crwdnd2935265:02crwdnd2935265:02crwdne2935265:0
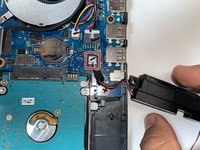
    • Identify the place where the speaker cable connects to the motherboard. The port should be "SPK"

  12. ASUS TUF Gaming FX505DY Keyboard Replacement: crwdns2935265:012crwdnd2935265:01crwdnd2935265:02crwdne2935265:0 ASUS TUF Gaming FX505DY Keyboard Replacement: crwdns2935265:012crwdnd2935265:02crwdnd2935265:02crwdne2935265:0
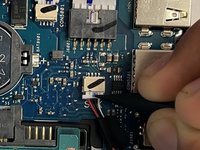
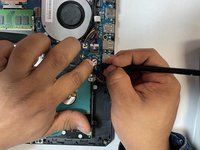
    • Pull the cable off the motherboard using a plastic pick or other pointed item and remove the speakers.

  13. ASUS TUF Gaming FX505DY Keyboard Replacement, Motherboard: crwdns2935265:013crwdnd2935265:01crwdnd2935265:03crwdne2935265:0 ASUS TUF Gaming FX505DY Keyboard Replacement, Motherboard: crwdns2935265:013crwdnd2935265:02crwdnd2935265:03crwdne2935265:0 ASUS TUF Gaming FX505DY Keyboard Replacement, Motherboard: crwdns2935265:013crwdnd2935265:03crwdnd2935265:03crwdne2935265:0
    • With a Phillips 0-bit screwdriver, remove eight 5.0 mm screws on the silver brackets

    • With a Phillips 0-bit screwdriver, remove two 5.0 mm screws holding the edge of the fans in place

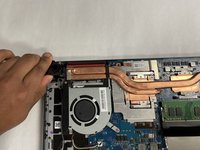
  14. ASUS TUF Gaming FX505DY Keyboard Replacement: crwdns2935265:014crwdnd2935265:01crwdnd2935265:03crwdne2935265:0 ASUS TUF Gaming FX505DY Keyboard Replacement: crwdns2935265:014crwdnd2935265:02crwdnd2935265:03crwdne2935265:0 ASUS TUF Gaming FX505DY Keyboard Replacement: crwdns2935265:014crwdnd2935265:03crwdnd2935265:03crwdne2935265:0
    • Gently remove all power cables connecting the fans to the motherboard.

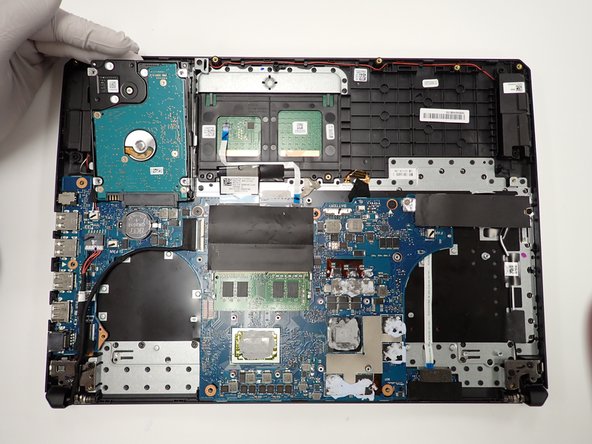
    • Once all cables and screws are removed, carefully lift up and remove the fans and heat sink

  15. ASUS TUF Gaming FX505DY Keyboard Replacement: crwdns2935265:015crwdnd2935265:01crwdnd2935265:02crwdne2935265:0 ASUS TUF Gaming FX505DY Keyboard Replacement: crwdns2935265:015crwdnd2935265:02crwdnd2935265:02crwdne2935265:0
    • With a Phillips 0-bit screwdriver, unscrew four 5.0 mm screws.

    • Disconnect the primary connector cable located at the bottom left and carefully remove the module.

  16. ASUS TUF Gaming FX505DY Keyboard Replacement: crwdns2935265:016crwdnd2935265:01crwdnd2935265:03crwdne2935265:0 ASUS TUF Gaming FX505DY Keyboard Replacement: crwdns2935265:016crwdnd2935265:02crwdnd2935265:03crwdne2935265:0 ASUS TUF Gaming FX505DY Keyboard Replacement: crwdns2935265:016crwdnd2935265:03crwdnd2935265:03crwdne2935265:0
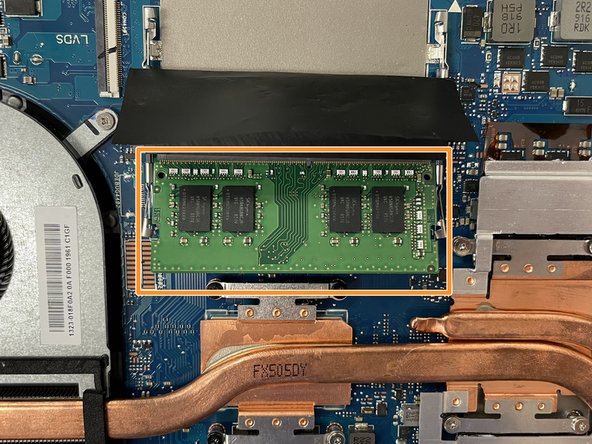
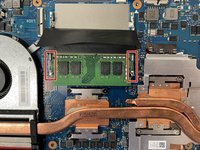
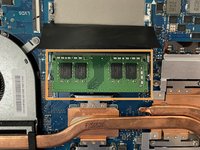
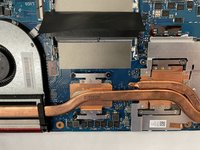
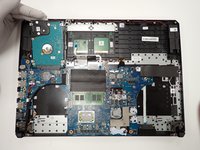
    • Removing the ram, push down unto the ram and move the metal locking tabs to the side by lifting upward slightly then moving each to their outside.

    • Pull the ram out toward the angle when the ram is sticking up at an angle when released.

  17. ASUS TUF Gaming FX505DY Keyboard Replacement: crwdns2935265:017crwdnd2935265:01crwdnd2935265:02crwdne2935265:0 ASUS TUF Gaming FX505DY Keyboard Replacement: crwdns2935265:017crwdnd2935265:02crwdnd2935265:02crwdne2935265:0
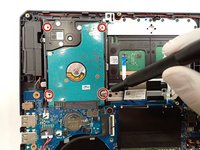
    • With a Phillips 0-bit screwdriver, unscrew four 5.0 mm top screws holding the hard drive in place.

    • Pinch the top left corner with your finger and slide the harddrive out of its casing.

  18. ASUS TUF Gaming FX505DY Keyboard Replacement: crwdns2935265:018crwdnd2935265:01crwdnd2935265:02crwdne2935265:0 ASUS TUF Gaming FX505DY Keyboard Replacement: crwdns2935265:018crwdnd2935265:02crwdnd2935265:02crwdne2935265:0
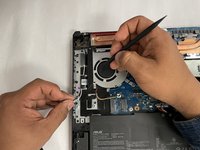
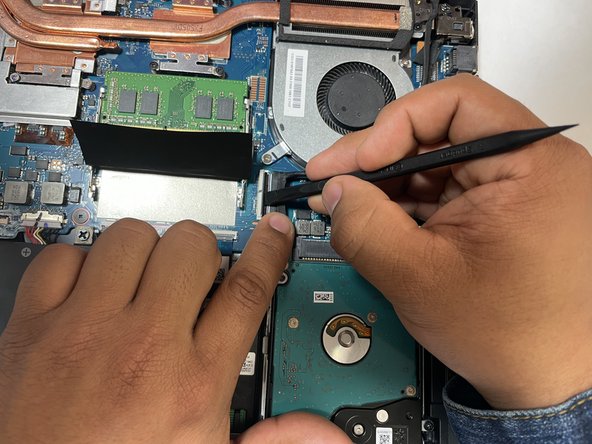
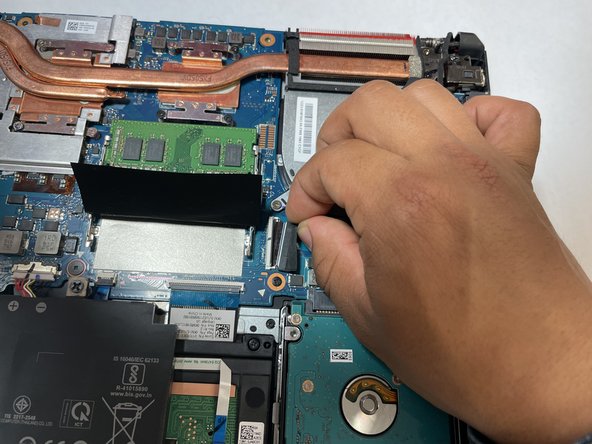
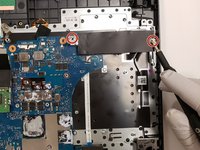
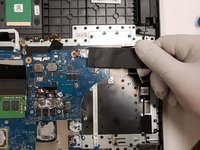
    • With a Phillips 0-bit screwdriver, unscrew two 5.0 mm screws holding SSD down to the motherboard on the right side of the board

    • Slide module out of protective casing to remove piece.

  19. ASUS TUF Gaming FX505DY Keyboard Replacement: crwdns2935265:019crwdnd2935265:01crwdnd2935265:03crwdne2935265:0 ASUS TUF Gaming FX505DY Keyboard Replacement: crwdns2935265:019crwdnd2935265:02crwdnd2935265:03crwdne2935265:0 ASUS TUF Gaming FX505DY Keyboard Replacement: crwdns2935265:019crwdnd2935265:03crwdnd2935265:03crwdne2935265:0
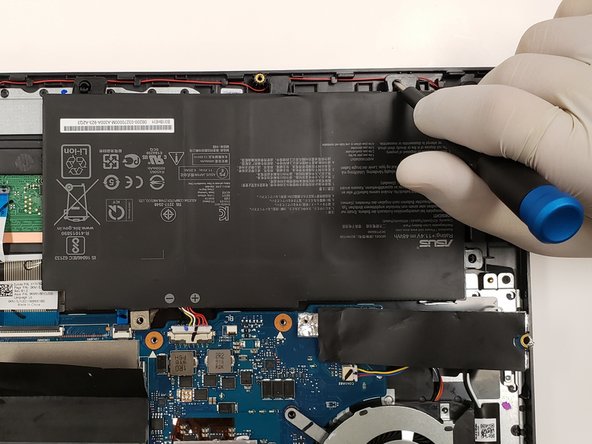
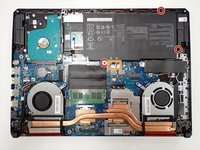
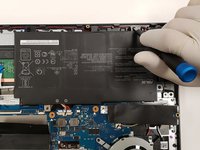
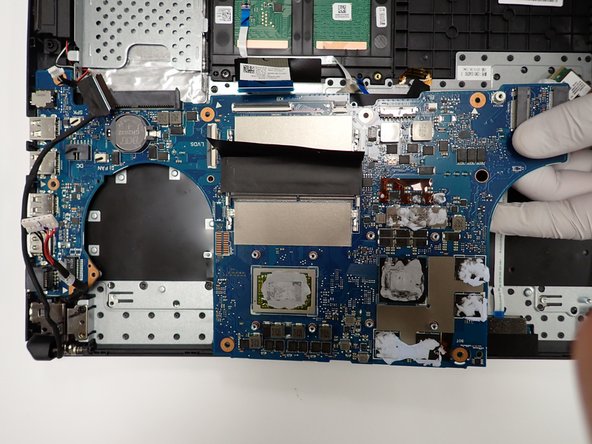
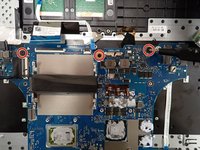
    • With a size 0 Phillips screwdriver, unscrew three center 5 mm screws securing the board in place.

    • Carefully lift the board and place in a safe area.

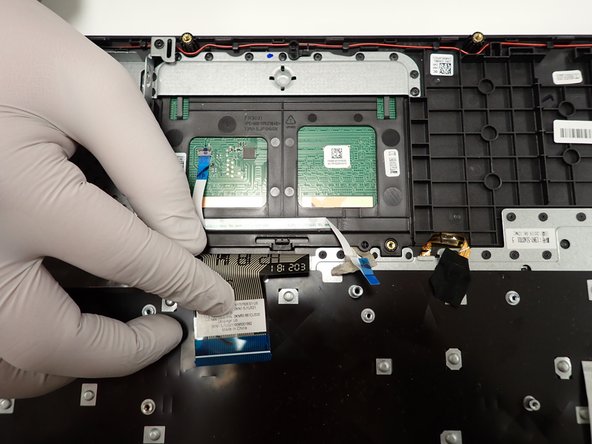
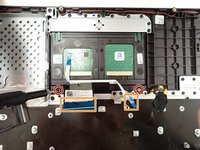
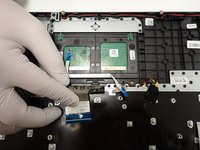
  20. ASUS TUF Gaming FX505DY Keyboard Replacement, Touchpad: crwdns2935265:020crwdnd2935265:01crwdnd2935265:03crwdne2935265:0 ASUS TUF Gaming FX505DY Keyboard Replacement, Touchpad: crwdns2935265:020crwdnd2935265:02crwdnd2935265:03crwdne2935265:0 ASUS TUF Gaming FX505DY Keyboard Replacement, Touchpad: crwdns2935265:020crwdnd2935265:03crwdnd2935265:03crwdne2935265:0
    • With a size 0 Phillips screwdriver, unscrew two 5 mm screws holding the trackpad in place located at the bottom of the trackpad.

    • Carefully unclip the connector base to remove the two touchpad cables.

    • Remove the trackpad by sliding forward and lifting up.

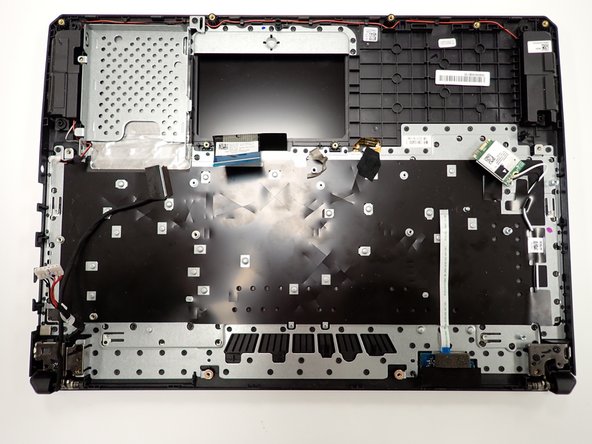
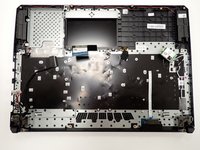
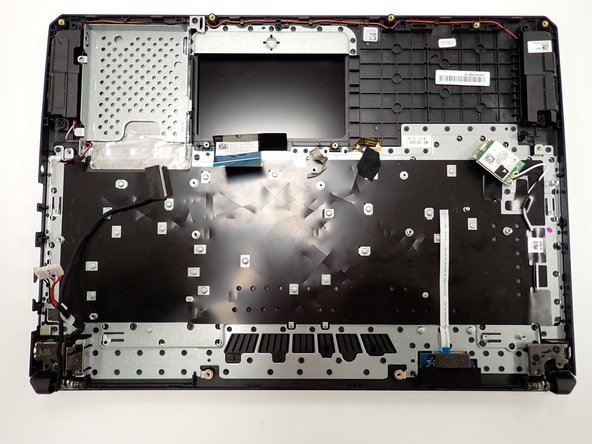
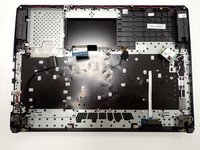
  21. ASUS TUF Gaming FX505DY Keyboard Replacement, Keyboard: crwdns2935265:021crwdnd2935265:01crwdnd2935265:01crwdne2935265:0
    • The keyboard is the entire body without any of the other parts attached. Do not try to remove the metal plate from the body.

crwdns2915888:0crwdne2915888:0

To reassemble your device, follow these instructions in reverse order.

crwdns2935229:02crwdne2935229:0
Nick Pearcy

crwdns2935283:003/28/23crwdne2935283:0

313 crwdns2915208:0crwdne2915208:0

crwdns2935297:03crwdne2935297:0

crwdns2915084:0crwdne2915084:0

IUPUI, Team 2-3, Harley Spring 2023 crwdns2935289:0IUPUI, Team 2-3, Harley Spring 2023crwdne2935289:0
IUPUI-HARLEY-S23S2G3

crwdns2931471:03crwdne2931471:0

crwdns2935297:03crwdne2935297:0
crwdns2944067:00crwdne2944067:0

crwdns2917038:0crwdne2917038:0

crwdns2936625:0crwdne2936625:0:

crwdns2936751:024crwdne2936751:0 2

crwdns2936753:07crwdne2936753:0 18

crwdns2936753:030crwdne2936753:0 98

crwdns2942667:0crwdne2942667:0 1,154