crwdns2915892:0crwdne2915892:0
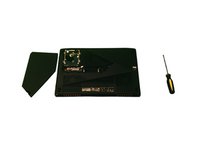
This guide goes over how to replace the M.2 SSD for the ASUS ROG Strix GL503VD-DB71 laptop using the quick access compartment found on the bottom of the laptop. Before starting, ensure that you have a compatible M.2 SSD for the laptop and the proper tools.
crwdns2942213:0crwdne2942213:0
-
-
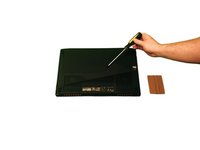
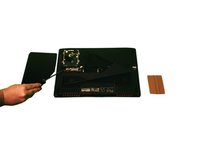
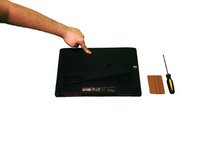
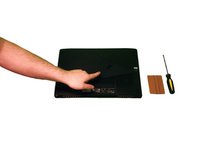
Completely turn off the laptop, lay it on a flat surface, and turn it over.
-
-
-
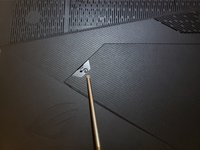
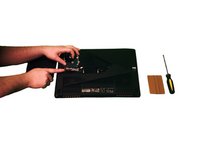
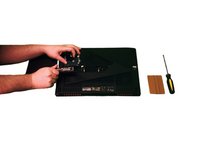
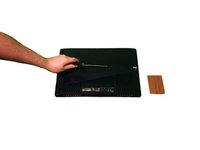
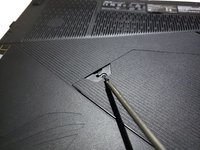
Using a plastic pry tool, pry off the rubber tab to reveal the screw underneath.
-
-
-
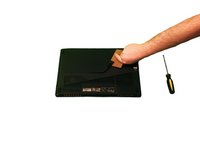
Using a Phillips #0 screwdriver, unscrew the one 2 mm screw that is holding down the compartment cover on the bottom of the laptop.
-
-
-
With a plastic pry tool, carefully pry open the cover on the bottom of the laptop starting where the screw was located.
-
Once part of the cover is popped off, slide your pry tool around the edge of the entire cover until all the connectors unsnap.
-
-
-
-
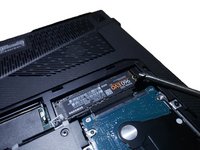
Locate the M.2 SSD and with a Phillips #0 screwdriver unscrew the 2.5 mm screw holding it down.
-
-
-
With your hand, lift up the M.2 SSD and carefully pull it out of the connector slot making sure not to apply to much pressure.
-
-
-
Take your new M.2 SSD and slide it back into the connector slot face up until it is fully in.
-
-
-
Take the 2.5 mm screw that was holding down the M.2 SSD and with a Phillips #0 screwdriver screw it back into the slot to hold down the new M.2 SSD.
-
-
-
Take the bottom panel and align it so the shape fits to the opening.
-
Slide the left side of the cover back into the slot first so that the two extrusions fit into their openings.
-
-
-
Carefully press down around all the sides of the bottom cover until all the connectors snap back into place.
-
-
-
Using a Phillips #0 screwdriver, take the 2 mm screw that was holding down the cover and screw it back into the opening on the cover.
-
-
-
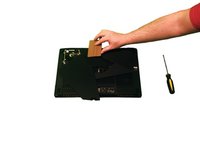
Place the rubber tab back into its slot with the sticky side down.
-


crwdns2935221:0crwdne2935221:0
crwdns2935227:0crwdne2935227:0
crwdns2915084:0crwdne2915084:0

University of Advancing Technology, Team S1-G1, Beam Spring 2019 crwdns2935289:0University of Advancing Technology, Team S1-G1, Beam Spring 2019crwdne2935289:0
UAT-BEAM-S19S1G1
crwdns2931471:02crwdne2931471:0
crwdns2935303:01crwdne2935303:0