crwdns2915892:0crwdne2915892:0
If having problems with your laptop not holding a charge, not turning on, or even just no longer charging it could be the battery. These symptoms can be found in our troubleshooting page. In this guide we will show you how to fix this issue by replacing the battery in your ASUS ROG Strix GL503VD-DB71 laptop. The battery provides power to the laptop allowing it to turn on and function properly. This specific laptop uses a 15.2 V 4240mAh battery lasting from 3-4 hours of normal use. When replacing the battery make sure the laptop is turned off and unplugged from any power source. When handling the battery use caution if there is any signs of swelling or cracks in the battery and handle with care.
crwdns2942213:0crwdne2942213:0
-
-
Start with flipping the laptop over so that the bottom side is facing up.
-
-
-
Remove the screw for the small panel with a Phillips #1 screwdriver.
-
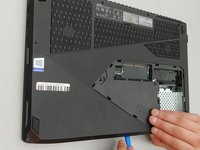
Use your plastic opening tool to lift up the cover to remove it.
-
Remove the screw beneath the service cover with a Phillips #1 screwdriver.
-
-
-
-
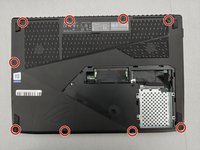
Remove the 9 screws around the perimeter of the back case with a Phillips #1 screwdriver.
-
Use a plastic opening tool to pry the back cover off of the device.
-
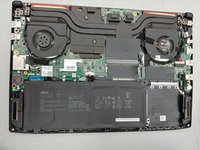
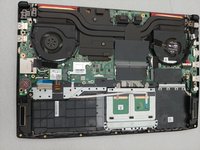
Remove the back cover exposing the battery.
-
-
-
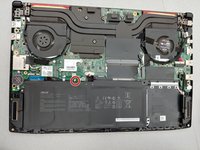
Remove the single screw securing the battery with a Phillips #1 screwdriver.
-
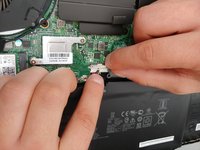
Gently pull the battery cable from its connector on the motherboard.
-
Lift up on the battery to remove it.
-
To reassemble your device, follow these instructions in reverse order.
To reassemble your device, follow these instructions in reverse order.
crwdns2935221:0crwdne2935221:0
crwdns2935229:03crwdne2935229:0


