crwdns2915892:0crwdne2915892:0
Laptops may need a fan replacement to address overheating, noise, reduced performance, frequent shutdowns, error messages, physical damage. It's essential to use compatible replacement fans and follow proper installation procedures for optimal functionality.
crwdns2942213:0crwdne2942213:0
-
-
Remove ten 2 mm screws using a Phillips #0 screwdriver.
-
Remove the screw in the center using a T4 Torx screwdriver.
-
Use an iFixit opening tool to pry open the back panel.
-
-
-
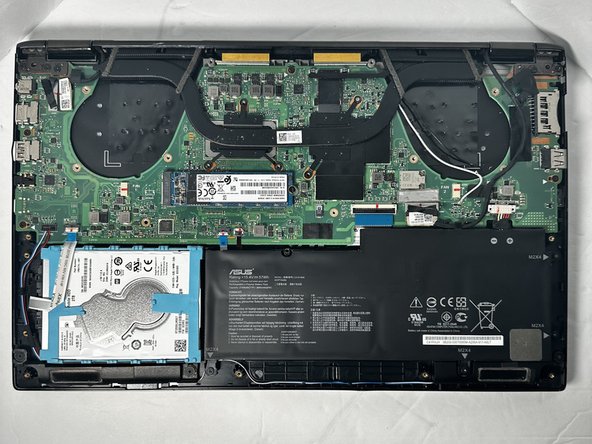
Use a Phillips #0 screwdriver to remove the six 2 mm fan screws.
-
Use a Phillips #0 screwdriver to remove the five 2 mm heatsink screws.
-
Warped Screw
-
-
crwdns2935267:0crwdne2935267:0Tweezers$4.99
-
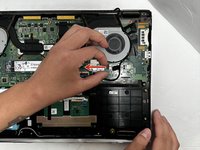
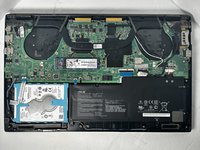
Disconnect white and black antennae cables.
-
-
-
Disconnect fan cables pulling outwards as shown.
-
-
-
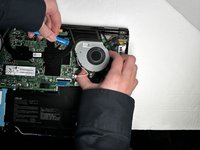
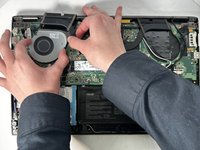
Carefully lift heatsink upward using a Ifixit opening tool or Fingers pull fan out from under the heat sink.
-


To reassemble your device, follow these instructions in reverse order.
crwdns2935287:0crwdne2935287:0

Gateway, Team 88-8, Gonzalez Fall 2023 crwdns2935289:0Gateway, Team 88-8, Gonzalez Fall 2023crwdne2935289:0
GCC-GONZALEZ-F23S88G8
crwdns2931471:05crwdne2931471:0
crwdns2935297:06crwdne2935297:0