crwdns2915892:0crwdne2915892:0
This guide demonstrates how to remove the battery, one of the most essential components of the device.
crwdns2942213:0crwdne2942213:0
-
-
Remove the grey scuff guard at the bottom of the PC by pressing down on it, and pulling it away.
-
Lift the hinge and remove the grey rubber tabs on either side of the PC’s model information.
-
Remove the two 7.62mm Phillips #1 screws beneath the rubber tabs under the hinge and the four 7.62mm Phillips #1 screws where the scuff guard was removed.
-
Remove the two 4.74mm Phillips #1 screws under the hinge (near the hinge joints) and a 4.74mm Phillips #1 screw under the handle.
-
-
-
Use 1-2 plastic opening tools or nylon spudgers to firmly pry open the back panel.
-
-
-
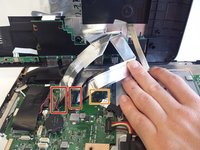
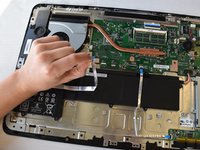
Disconnect the three cables connecting the back panel ports to the motherboard.
-
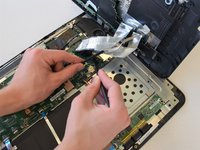
Flip up the locking latch holding the two ribbon cables with a plastic opening tool and pull the cables out.
-
Gently wiggle the third connector out of its socket.
-
-
-
-
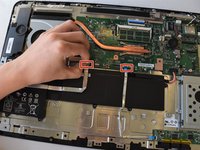
Remove the eight 3.5 mm Phillips screws that secure the battery.
-
-
-
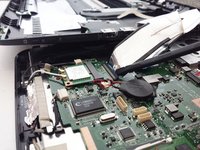
Disconnect the wires by pulling on the tab. Disconnecting these wires will clear the way for removing the battery.
-
-
-
Unplug the battery's connector from the motherboard.
-
-
-
Pull the battery out. Be careful not to break the cables on top.
-
To reassemble your device, follow these instructions in reverse order.
To reassemble your device, follow these instructions in reverse order.
crwdns2935221:0crwdne2935221:0
crwdns2935229:03crwdne2935229:0


