crwdns2915892:0crwdne2915892:0
This guide will show you how to replace the screen on a Asus N550JK-DS71T laptop.
crwdns2942213:0crwdne2942213:0
-
-
Turn the laptop off and unplug all cables.
-
Flip over so the bottom is facing you.
-
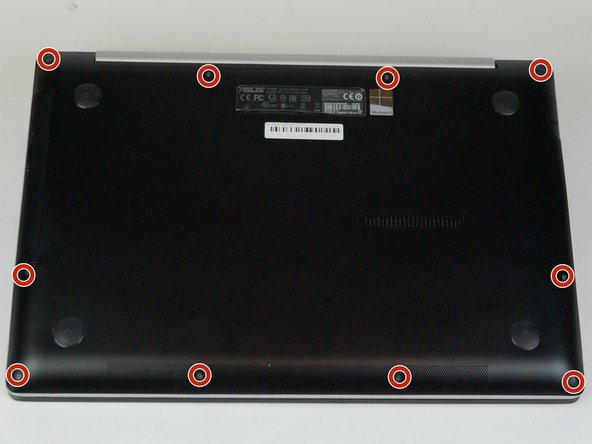
Remove the ten 3mm Torx T5 screws from the bottom cover.
-
-
-
Use a spudger to wedge between the laptop and bottom cover—lift upwards to pry open.
-
Run the spudger along the perimeter of the bottom cover to remove.
-
-
-
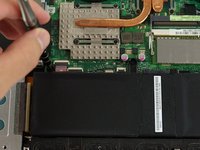
Remove the three 4mm JIS #0 screws from the battery.
-
-
-
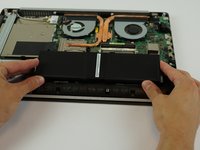
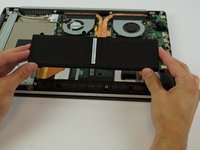
Using both hands, lift the battery vertically out of the device.
-
-
-
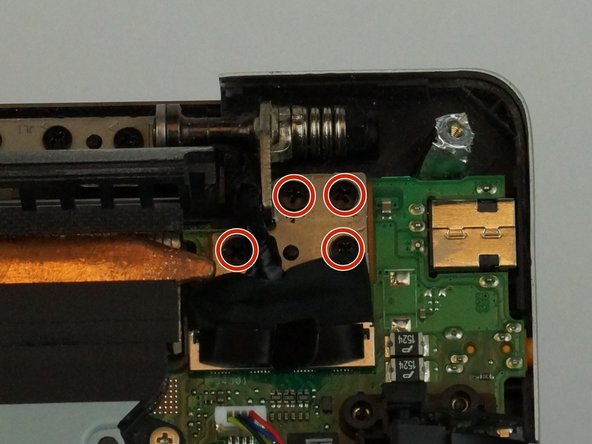
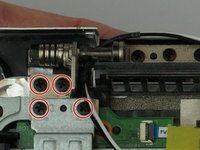
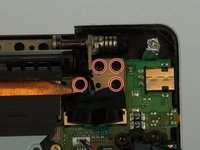
Remove the eight black 4mm Phillips #1 screws holding display to laptop base.
-
-
-
-
Lift the tab on the thick black wire to disconnect the display connector.
-
-
-
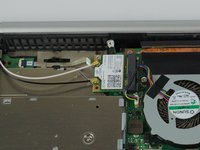
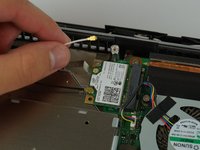
Remove the thin black and white wire connectors from the Wi-Fi card.
-
-
-
Open then close the laptop to separate the metal hinges between display and base.
-
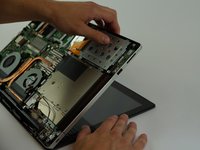
Open the laptop again then gently remove the base of the laptop from the display.
-
-
-
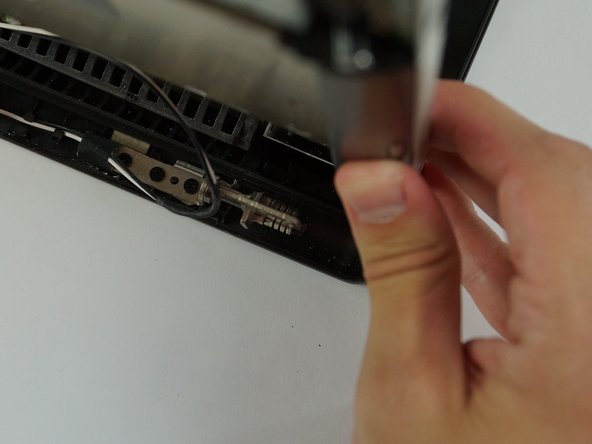
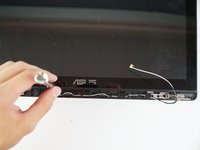
After removing the display from the board, slide the grey hinge cap to remove.
I found it easier to first remove the lid, then pry off the cap from the back.
WARNING: Do not do it as shown on the picture!
The gray hinge cap should be left in place until you have removed the display assembly. Then you can easily slide it to the side to remove it.
I should have read your comment earlier Dave. Unfortunately even with a slight push I broke all the pins which are supposed to hold the grey hinge cap. Now my screen is working well, but I have a piece of tape to hold this part :-(
Please people listen to Dave, it is a wise advice.
Thx you so much. I cannot plug the grey henge cap beacuse I have broken the some little peaces of the cap. Can I plug that anyway?
I have replaced my screen on this laptop twice, and this piece DOES NOT need to be pried off. It just slides off cleanly when you separate the screen from the rest of the laptop first. I have submitted a proposal to amend this step / have it happen later. Hopefully it gets approved!
-
-
-
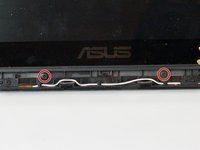
Remove the two 4mm black Phillips #0 screws from the bottom of the display.
-
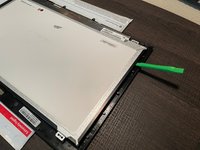
Slide the screen to the bottom of the display to disengage the mounting clips.
-
-
-
Lift the screen from the display to remove.
Thx you so much. I cannot plug the grey henge cap beacuse I have broken the some little peaces of the cap. Can I plug that anyway?
-
-
-
Using a spudger or soft pry tool, work your way around the edge of the screen to separate the screen from the bezel adhesive strips. Take your time, and be careful not to break the bezel.
-
-
-
Before installing new screen, ensure that the adhesive strips are laying flat around the edges, and clean the surface of the screen of debris from prying the old screen off. These will show up on the new screen if you sandwich them in between the glass and the screen.
-


To reassemble your device, follow these instructions in reverse order.
To reassemble your device, follow these instructions in reverse order.
crwdns2935221:0crwdne2935221:0
crwdns2935229:08crwdne2935229:0
crwdns2915084:0crwdne2915084:0

USF Tampa, Team S5-G1, Passmore Spring 2018 crwdns2935289:0USF Tampa, Team S5-G1, Passmore Spring 2018crwdne2935289:0
USFT-PASSMORE-S18S5G1
crwdns2931471:04crwdne2931471:0
crwdns2935297:06crwdne2935297:0
crwdns2947412:02crwdne2947412:0
What is the screen model? I need it to buy a separate controller to use the laptop screen as an external monitor
Thanks a lot, I’ve just replaced the flaky screen cable on my N550JK that was causing the screen to turn off frequently while using the laptop. Only cost 12€ to get a new one and my laptop is now fixed thanks to your guide! :)