crwdns2933423:0crwdne2933423:0

ASUS K200MA-DS01T Trackpad Replacement

crwdns2942213:0crwdne2942213:0

  1. ASUS K200MA-DS01T Trackpad Replacement, Back Panel: crwdns2935265:01crwdnd2935265:01crwdnd2935265:02crwdne2935265:0 ASUS K200MA-DS01T Trackpad Replacement, Back Panel: crwdns2935265:01crwdnd2935265:02crwdnd2935265:02crwdne2935265:0
    • With the opening facing you, flip the laptop over and remove the following screws from the back panel:

    • Six 4mm Phillips screws using a Phillips #0 screwdriver.

    • One 12mm Phillips screw in the center using a Phillips #0 screwdriver.

  2. ASUS K200MA-DS01T Trackpad Replacement: crwdns2935265:02crwdnd2935265:01crwdnd2935265:02crwdne2935265:0 ASUS K200MA-DS01T Trackpad Replacement: crwdns2935265:02crwdnd2935265:02crwdnd2935265:02crwdne2935265:0
    • Using a plastic spudger, remove the two rubber stoppers closest to the hinge to reveal the screws underneath.

  3. ASUS K200MA-DS01T Trackpad Replacement: crwdns2935265:03crwdnd2935265:01crwdnd2935265:01crwdne2935265:0
    • Remove the following screws:

    • Two 4mm Phillips screws using a Phillips #0 screwdriver.

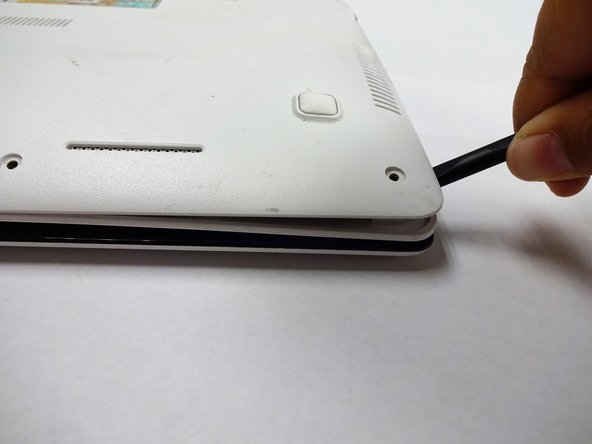
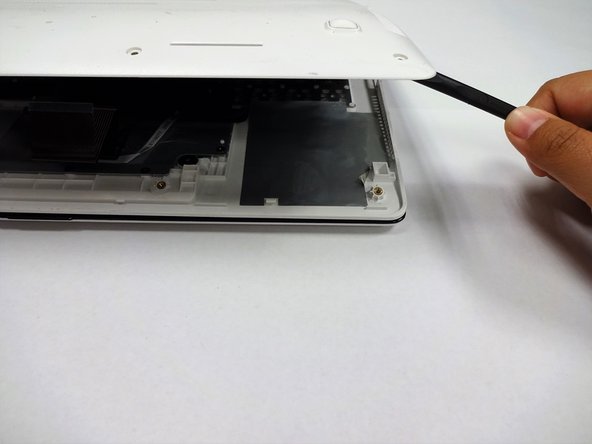
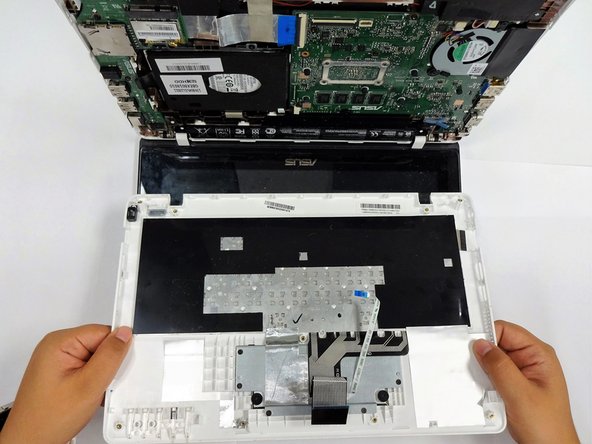
  4. ASUS K200MA-DS01T Trackpad Replacement: crwdns2935265:04crwdnd2935265:01crwdnd2935265:03crwdne2935265:0 ASUS K200MA-DS01T Trackpad Replacement: crwdns2935265:04crwdnd2935265:02crwdnd2935265:03crwdne2935265:0 ASUS K200MA-DS01T Trackpad Replacement: crwdns2935265:04crwdnd2935265:03crwdnd2935265:03crwdne2935265:0
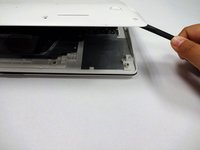
    • Using a plastic spudger (and a fair amount of force), pry the back panel up from the keyboard to separate.

    • You may have to use one spudger to wedge between the back panel and keyboard while using another to pry it open in a different spot.

  5. ASUS K200MA-DS01T Trackpad Replacement, Keyboard: crwdns2935265:05crwdnd2935265:01crwdnd2935265:02crwdne2935265:0 ASUS K200MA-DS01T Trackpad Replacement, Keyboard: crwdns2935265:05crwdnd2935265:02crwdnd2935265:02crwdne2935265:0
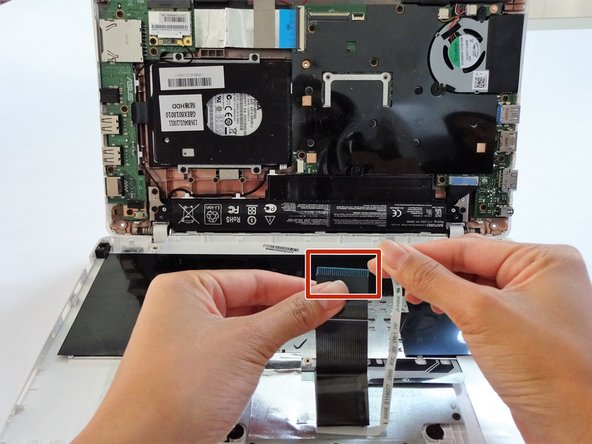
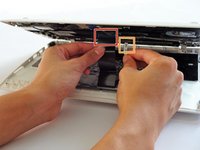
    • To disconnect the keyboard connectors from keyboard and back panel, gently pull wide keyboard connector out.

    • Gently pull the narrow connector away from the keyboard.

  6. ASUS K200MA-DS01T Trackpad Replacement: crwdns2935265:06crwdnd2935265:01crwdnd2935265:02crwdne2935265:0 ASUS K200MA-DS01T Trackpad Replacement: crwdns2935265:06crwdnd2935265:02crwdnd2935265:02crwdne2935265:0
    • Now that the keyboard connectors are unplugged, pull the keyboard off and away from the back panel hinges.

  7. ASUS K200MA-DS01T Trackpad Replacement, Track Pad: crwdns2935265:07crwdnd2935265:01crwdnd2935265:02crwdne2935265:0 ASUS K200MA-DS01T Trackpad Replacement, Track Pad: crwdns2935265:07crwdnd2935265:02crwdnd2935265:02crwdne2935265:0
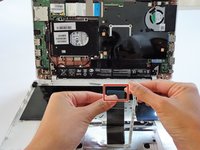
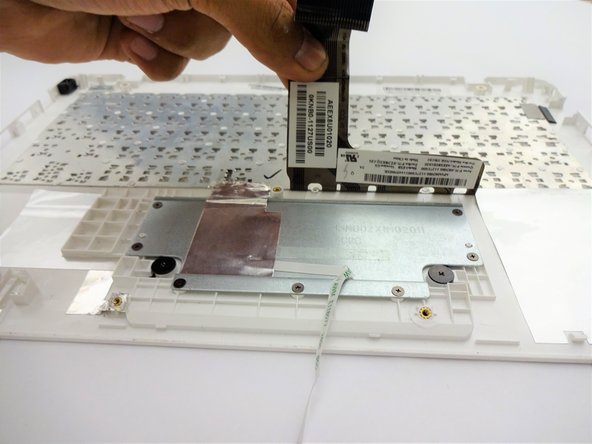
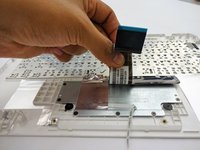
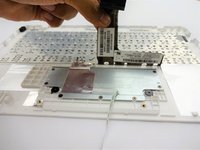
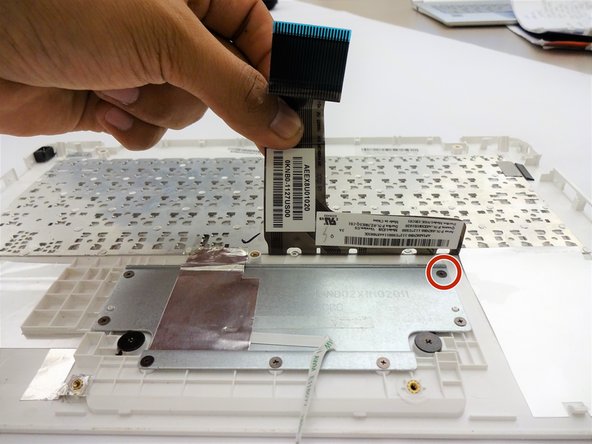
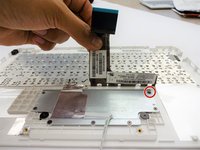
    • Lift the keyboard connector from the keyboard.

  8. ASUS K200MA-DS01T Trackpad Replacement: crwdns2935265:08crwdnd2935265:01crwdnd2935265:02crwdne2935265:0 ASUS K200MA-DS01T Trackpad Replacement: crwdns2935265:08crwdnd2935265:02crwdnd2935265:02crwdne2935265:0
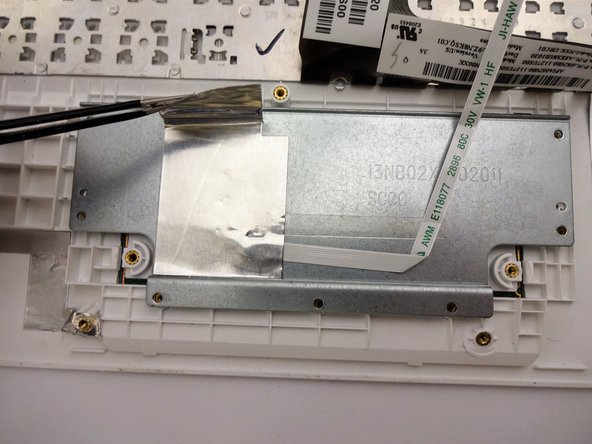
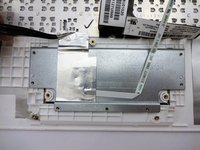
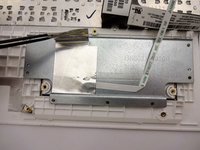
    • Lift the foil sheet.

  9. ASUS K200MA-DS01T Trackpad Replacement: crwdns2935265:09crwdnd2935265:01crwdnd2935265:02crwdne2935265:0 ASUS K200MA-DS01T Trackpad Replacement: crwdns2935265:09crwdnd2935265:02crwdnd2935265:02crwdne2935265:0
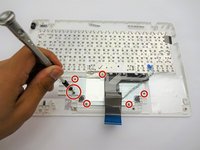
    • Remove the following screws:

    • Eight 3 mm screws using Phillips screwdriver.

    • Be sure to remove the screw underneath the keyboard connector.

  10. ASUS K200MA-DS01T Trackpad Replacement: crwdns2935265:010crwdnd2935265:01crwdnd2935265:01crwdne2935265:0
    • Remove the following screws:

    • Two 2 mm screws using a Phillips #00 screwdriver.

  11. ASUS K200MA-DS01T Trackpad Replacement: crwdns2935265:011crwdnd2935265:01crwdnd2935265:02crwdne2935265:0 ASUS K200MA-DS01T Trackpad Replacement: crwdns2935265:011crwdnd2935265:02crwdnd2935265:02crwdne2935265:0
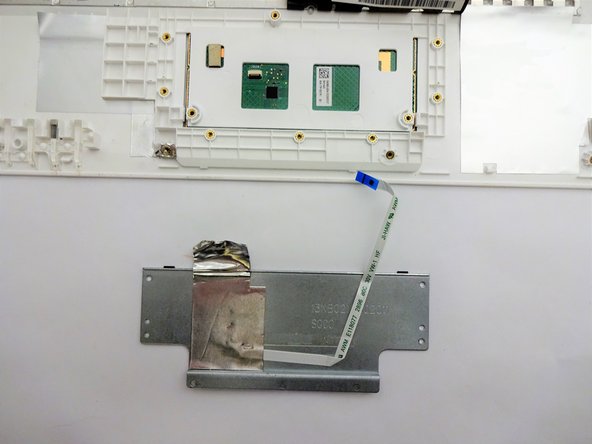
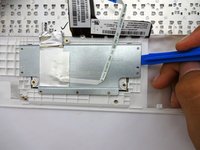
    • Using a plastic spudger, remove the metal plate.

  12. ASUS K200MA-DS01T Trackpad Replacement: crwdns2935265:012crwdnd2935265:01crwdnd2935265:03crwdne2935265:0 ASUS K200MA-DS01T Trackpad Replacement: crwdns2935265:012crwdnd2935265:02crwdnd2935265:03crwdne2935265:0 ASUS K200MA-DS01T Trackpad Replacement: crwdns2935265:012crwdnd2935265:03crwdnd2935265:03crwdne2935265:0
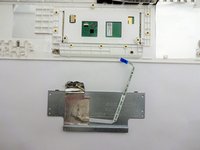
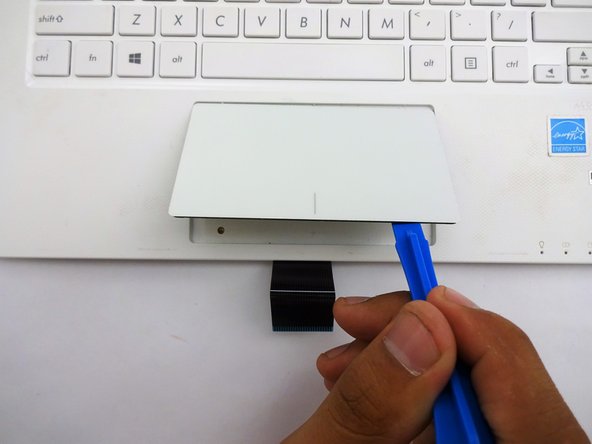
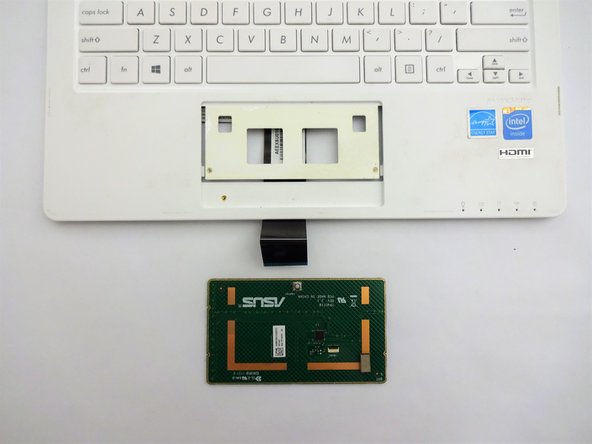
    • Flip the keyboard over.

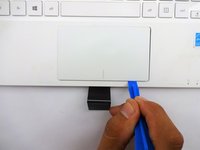
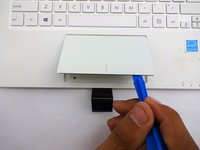
    • Using a plastic spudger, pry the track pad off the plastic piece underneath.

    • Don't be afraid to use some force in this step because the track pad and the plastic piece are glued together.

crwdns2915888:0crwdne2915888:0

To reassemble your device, follow these instructions in reverse order.

Terrinda

crwdns2935283:009/17/18crwdne2935283:0

526 crwdns2915208:0crwdne2915208:0

crwdns2935297:04crwdne2935297:0

crwdns2915084:0crwdne2915084:0

CSU Fullerton, Team S2-G5, Bruce Fall 2018 crwdns2935289:0CSU Fullerton, Team S2-G5, Bruce Fall 2018crwdne2935289:0

CSUF-BRUCE-F18S2G5

crwdns2931471:04crwdne2931471:0

crwdns2935297:07crwdne2935297:0

crwdns2944067:00crwdne2944067:0

crwdns2917038:0crwdne2917038:0

crwdns2936625:0crwdne2936625:0:

crwdns2936751:024crwdne2936751:0 0

crwdns2936753:07crwdne2936753:0 1

crwdns2936753:030crwdne2936753:0 11

crwdns2942667:0crwdne2942667:0 107