crwdns2933423:0crwdne2933423:0

ASUS F550 Wifi Card Replacement

crwdns2942213:0crwdne2942213:0

  1. ASUS F550 Wifi Card Replacement, ASUS F550 HDD/Ram Cover Removal: crwdns2935265:01crwdnd2935265:01crwdnd2935265:02crwdne2935265:0 ASUS F550 Wifi Card Replacement, ASUS F550 HDD/Ram Cover Removal: crwdns2935265:01crwdnd2935265:02crwdnd2935265:02crwdne2935265:0
    • Remove the battery, using release clips.

    • Ensure device has no residual power by attempting boot once battery is removed.

    • Remove either 2 (or 4 for a full teardown) 12mm phillips screws, then removing the bottom cover to gain access to the HDD and RAM.

    • Remove HDD and RAM cover

  2. ASUS F550 Wifi Card Replacement, HDD: crwdns2935265:02crwdnd2935265:01crwdnd2935265:01crwdne2935265:0
    • Remove 3 5mm Phillips screws

    • Slide HDD caddy back, remove using the black pull tab.

  3. ASUS F550 Wifi Card Replacement, HDD Removal from Caddy: crwdns2935265:03crwdnd2935265:01crwdnd2935265:01crwdne2935265:0
    • Remove 4 Phillips screws, 2 per side

    • Remove HDD from caddy.

  4. ASUS F550 Wifi Card Replacement, Keyboard: crwdns2935265:04crwdnd2935265:01crwdnd2935265:01crwdne2935265:0
    • Remove 7 5mm Phillips screws

  5. ASUS F550 Wifi Card Replacement: crwdns2935265:05crwdnd2935265:01crwdnd2935265:03crwdne2935265:0 ASUS F550 Wifi Card Replacement: crwdns2935265:05crwdnd2935265:02crwdnd2935265:03crwdne2935265:0 ASUS F550 Wifi Card Replacement: crwdns2935265:05crwdnd2935265:03crwdnd2935265:03crwdne2935265:0
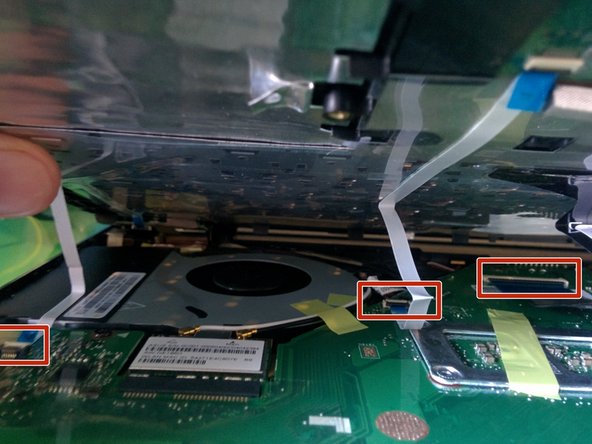
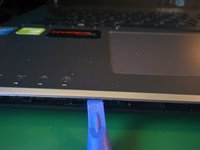
    • Flip laptop and open lid. Separate the keyboard plate from the main housing, using a plastic prying tool. Being careful not to damage the LED indicators or other peripheries.

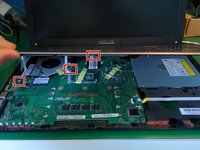
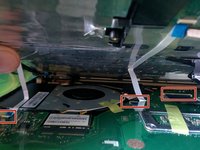
    • Disconnect the LED, trackpad, and keyboard ribbon cables.

    • The keyboard can now be removed

  6. ASUS F550 Wifi Card Replacement, Wifi Card: crwdns2935265:06crwdnd2935265:01crwdnd2935265:02crwdne2935265:0 ASUS F550 Wifi Card Replacement, Wifi Card: crwdns2935265:06crwdnd2935265:02crwdnd2935265:02crwdne2935265:0
    • Locate Wifi Card

    • Remove the antenna cables using a spudger tool.

    • Remove the Philips screw The Wifi Card will pop up and should be easily removed.

crwdns2915888:0crwdne2915888:0

To reassemble your device, follow these instructions in reverse order.

crwdns2935229:04crwdne2935229:0

Ryan

crwdns2935283:008/19/15crwdne2935283:0

1,414 crwdns2915208:0crwdne2915208:0

crwdns2935297:014crwdne2935297:0

crwdns2944067:00crwdne2944067:0

crwdns2917038:0crwdne2917038:0

crwdns2936625:0crwdne2936625:0:

crwdns2936751:024crwdne2936751:0 1

crwdns2936753:07crwdne2936753:0 5

crwdns2936753:030crwdne2936753:0 27

crwdns2942667:0crwdne2942667:0 6,540