crwdns2915892:0crwdne2915892:0
Some components are expected to wear out over UNIT-4’s lifetime - main examples being batteries and speaker drivers. UNIT-4 has been designed to be disassembled with glue-free design by anyone with 2 screwdrivers and AIAIAI’s step by step repair guides. This will make sure your UNIT-4's will stay with you for as long as possible.
crwdns2942213:0crwdne2942213:0
-
-
All you need is a thin, hard plastic tool or an old credit card and 2 cross head screwdrivers. We use a Phillips 0 and a Phillips 2.
-
-
-
Make sure UNIT-4 is turned off.
-
Use a thin, hard plastic tool or an old credit card and pull off the front panel.
-
-
-
-
Take a screwdriver and remove all 6 screws from the LED ring.
-
Gently pull the LED ring out.
-
-
-
Take a screwdriver and remove all 6 screws from the woofer.
-
Gently pull out the woofer from the housing.
-
-
-
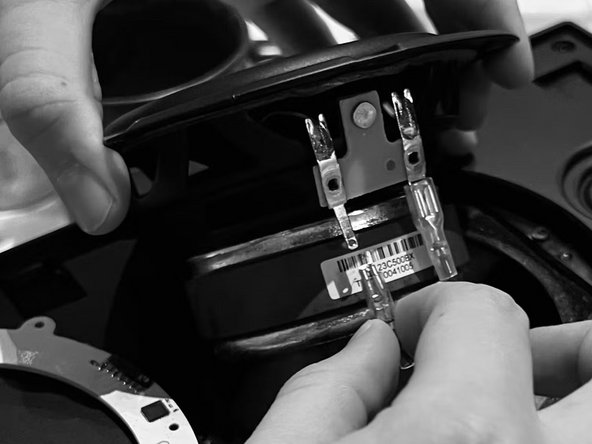
Use a tool that is slim enough to press in the lock mechanism of the woofer connector. We use a Phillips 0 screwdriver.
-
Remove the woofer.
-
-
-
Connect the new woofer to the PCBA and fix into it into the front housing.
-
Add the 6 screws and hand tighten.
-


To reassemble your device, follow these instructions in reverse order.
To reassemble your device, follow these instructions in reverse order.
