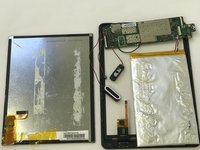
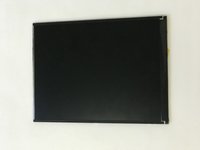
crwdns2915892:0crwdne2915892:0
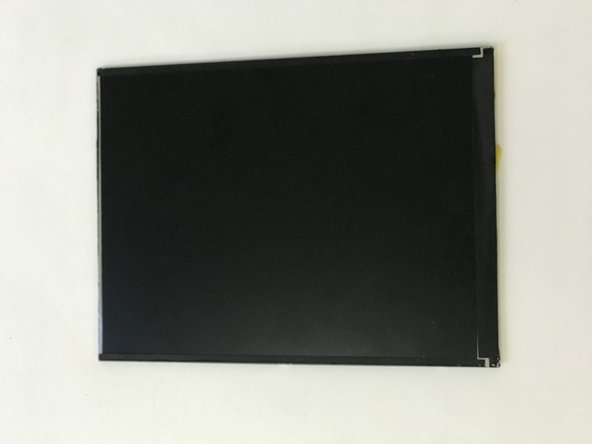
This guide will show you in depth how to replace the screen. This guide will use two prerequisite guides. In order to complete this guide you will have to know how to use a screwdriver and a suction cup. This guide requires time and a lot of patience.
crwdns2942213:0crwdne2942213:0
-
-
Loosen the back cover using the suction cup.
-
Pull up on the center of the back with the suction cup.
-
Pull up on all four corners of the back with the suction cup.
-
-
-
Remove the back cover by gently placing the small opening tool in the crevice created by loosening the back.
-
Slide the opening tool around the edges of the device.
-
Wedge it open using the opening tool.
-
-
-
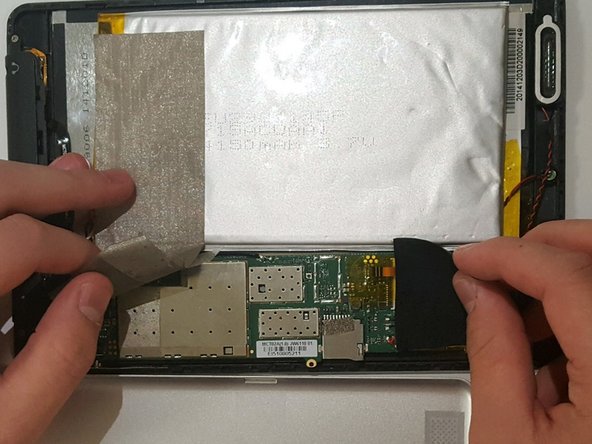
Peel off the silver tape.
-
Gently pull off the black tape.
-
-
-
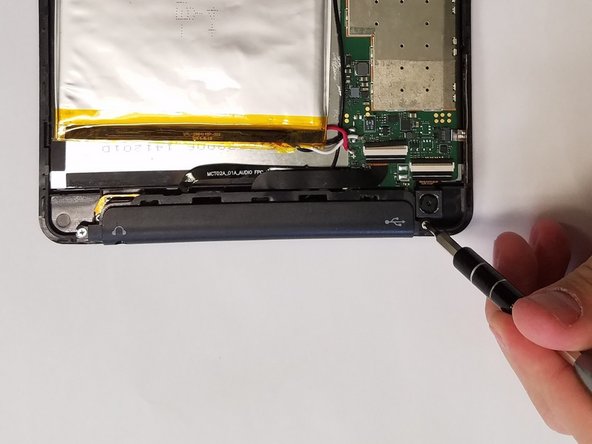
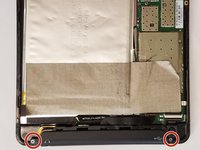
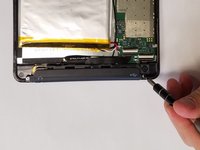
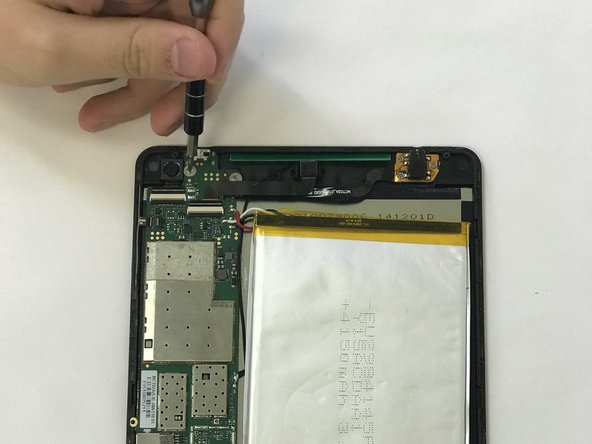
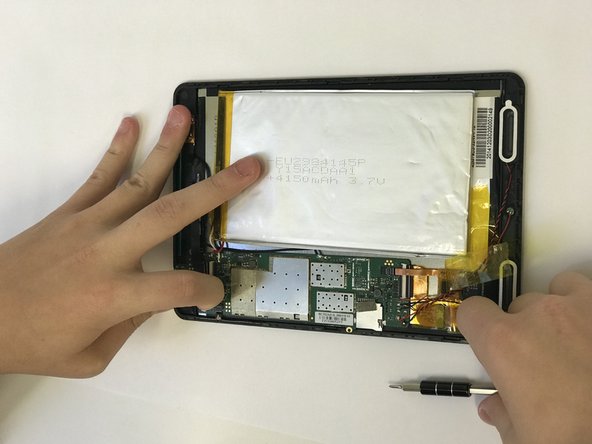
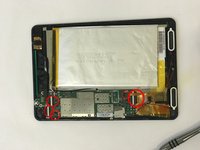
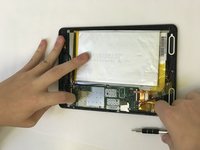
Using a JIS #000 screwdriver, remove the two 2.5 mm screws.
-
-
-
-
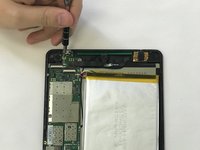
Remove the two JIS #000 screws.
-
-
-
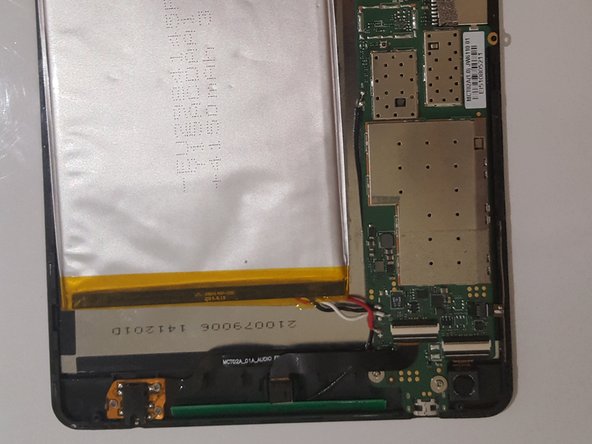
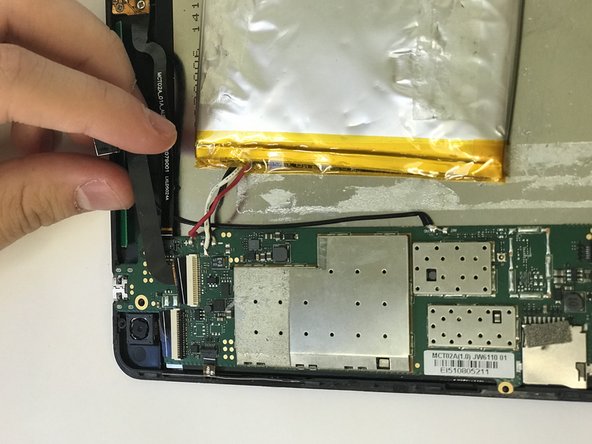
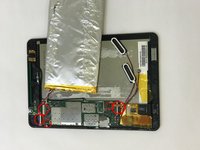
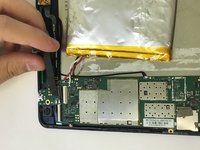
Flip up the small black connectors using a spudger or your nails.
-
-
crwdns2935267:0crwdne2935267:0Tweezers$4.99
-
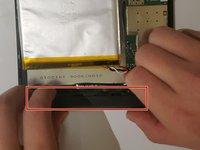
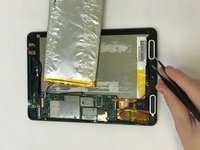
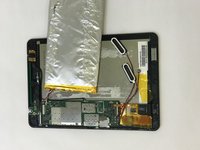
Use the tweezers to loosen up the sides of speakers by going into the gaps, before picking it up.
-
-
-
Remove all wire connections by sliding them out of the connectors.
-
-
-
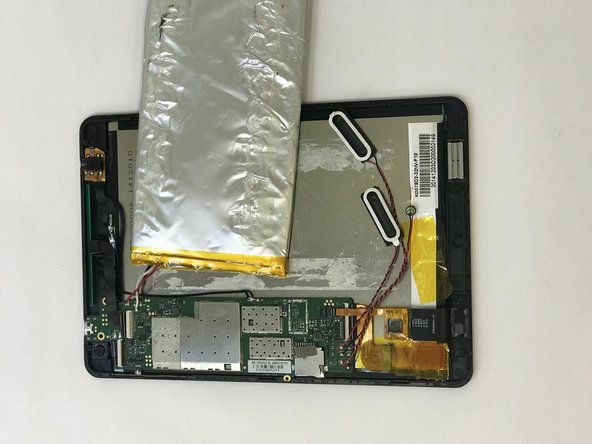
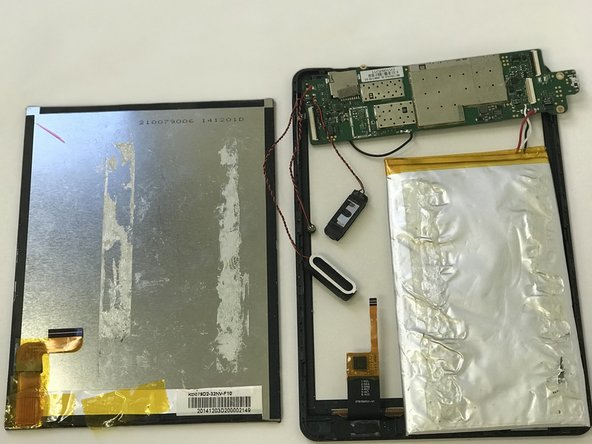
Take off the motherboard and set it aside. Your Finished product should look like this.
-
-
-
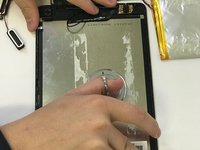
Use the suction cup to loosen and pull up the screen.
-
To reassemble your device, follow these instructions in reverse order.
crwdns2947410:01crwdne2947410:0
Remember to give the lengths for all screws. For warnings, try to be more straight forward and try not to use words like '“note.” Remember to add an introduction.


