crwdns2933423:0crwdne2933423:0
crwdns2947577:0crwdnd2947577:0crwdne2947577:0

4Sight 9 Charging Port Replacement

crwdns2942213:0crwdne2942213:0

    1. 4Sight 9 Charging Port Replacement, Cover: crwdns2935265:01crwdnd2935265:01crwdnd2935265:02crwdne2935265:0 4Sight 9 Charging Port Replacement, Cover: crwdns2935265:01crwdnd2935265:02crwdnd2935265:02crwdne2935265:0
      • Place the tablet on its side so that the two screws are facing upward.

      • Remove two 1 mm screws from the left side of the tablet using a Phillips #00 screwdriver.

      crwdns2952109:0crwdne2952109:0

      crwdns2917038:0crwdne2917038:0

    2. 4Sight 9 Charging Port Replacement: crwdns2935265:02crwdnd2935265:01crwdnd2935265:01crwdne2935265:0
      • Pry the case away from the device slowly by sliding a plastic opening tool along the device.

      • Once loosened, use your hands to separate the case from the device.

      crwdns2952109:0crwdne2952109:0

      crwdns2917038:0crwdne2917038:0

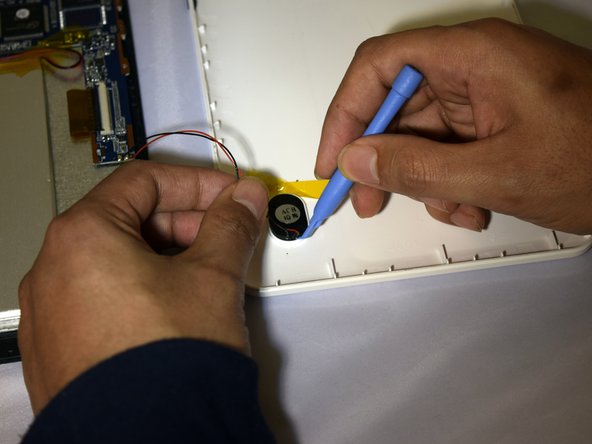
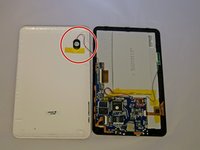
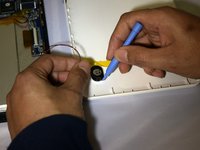
    3. 4Sight 9 Charging Port Replacement: crwdns2935265:03crwdnd2935265:01crwdnd2935265:02crwdne2935265:0 4Sight 9 Charging Port Replacement: crwdns2935265:03crwdnd2935265:02crwdnd2935265:02crwdne2935265:0
      • Hold the positive and negative wires as close as possible to the speaker.

      • Use an opening tool and fingers to simultaneously lift the speaker from the cover.

      crwdns2952109:0crwdne2952109:0

      crwdns2917038:0crwdne2917038:0

    1. 4Sight 9 Charging Port Replacement, Motherboard: crwdns2935265:04crwdnd2935265:01crwdnd2935265:01crwdne2935265:0
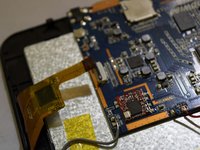
      • Use soldering gun to remove the positive and negative wires connecting the battery to the circuit board.

      • For a complete guide on how to solder, click here.

      crwdns2952109:0crwdne2952109:0

      crwdns2917038:0crwdne2917038:0

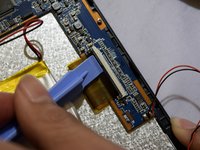
    2. 4Sight 9 Charging Port Replacement: crwdns2935265:05crwdnd2935265:01crwdnd2935265:02crwdne2935265:0 4Sight 9 Charging Port Replacement: crwdns2935265:05crwdnd2935265:02crwdnd2935265:02crwdne2935265:0
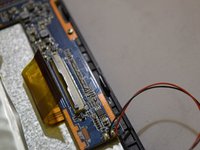
      • Grip the ribbon located at the far end of the circuit board with a plastic spudger tool.

      • Put pressure on the connector until the clasp comes undone.

      • Gently pull up on electrical ribbon until it disconnects from circuit board.

      crwdns2952109:0crwdne2952109:0

      crwdns2917038:0crwdne2917038:0

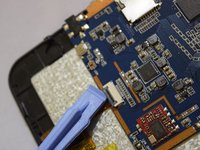
    3. 4Sight 9 Charging Port Replacement: crwdns2935265:06crwdnd2935265:01crwdnd2935265:02crwdne2935265:0 4Sight 9 Charging Port Replacement: crwdns2935265:06crwdnd2935265:02crwdnd2935265:02crwdne2935265:0
      • Remove the second electrical ribbon from the motherboard.

      • Use the technique for the previous ribbon.

      crwdns2952109:0crwdne2952109:0

      crwdns2917038:0crwdne2917038:0

    4. 4Sight 9 Charging Port Replacement: crwdns2935265:07crwdnd2935265:01crwdnd2935265:01crwdne2935265:0
      • Using #00 Phillips Screwdriver, remove the four 1mm screws holding the circuit board to the device.

      crwdns2952109:0crwdne2952109:0

      crwdns2917038:0crwdne2917038:0

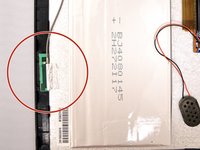
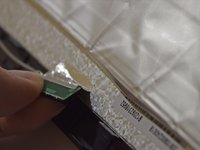
    5. 4Sight 9 Charging Port Replacement: crwdns2935265:08crwdnd2935265:01crwdnd2935265:02crwdne2935265:0 4Sight 9 Charging Port Replacement: crwdns2935265:08crwdnd2935265:02crwdnd2935265:02crwdne2935265:0
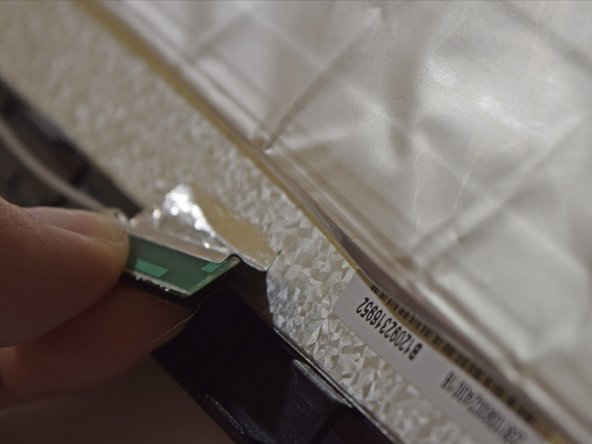
      • With fingers, grip the green Wi-Fi connector.

      • Gently pull up on connector to remove tape holding the connector in place.

      crwdns2952109:0crwdne2952109:0

      crwdns2917038:0crwdne2917038:0

    6. 4Sight 9 Charging Port Replacement: crwdns2935265:09crwdnd2935265:01crwdnd2935265:01crwdne2935265:0
      • Using your fingers, gently lift the motherboard.

      crwdns2952109:0crwdne2952109:0

      crwdns2917038:0crwdne2917038:0

    1. 4Sight 9 Charging Port Replacement, Charging Port: crwdns2935265:010crwdnd2935265:01crwdnd2935265:01crwdne2935265:0
      crwdns2935267:0crwdne2935267:0
      Tweezers
      $4.99
      • Use soldering gun and when solder is malleable, lift up on the left side of the charge port until it is not connected to the board with tweezers.

      • Charging port may be very hot due to soldering iron.

      • Repeat this step on right side of charging port.

      • For a complete guide on how to solder, click here.

      crwdns2952109:0crwdne2952109:0

      crwdns2917038:0crwdne2917038:0

crwdns2915888:0crwdne2915888:0

To reassemble your device, follow these instructions in reverse order.

crwdns2935221:0crwdne2935221:0

Robert Shredow

crwdns2935283:004/07/15crwdne2935283:0

185 crwdns2915208:0crwdne2915208:0

crwdns2935295:0crwdne2935295:0

crwdns2935287:0crwdne2935287:0

Eastern Washington University, Team 1-2, Plummer Spring 2015 crwdns2935289:0Eastern Washington University, Team 1-2, Plummer Spring 2015crwdne2935289:0

EWU-PLUMMER-S15S1G2

crwdns2931471:04crwdne2931471:0

crwdns2935297:072crwdne2935297:0

crwdns2947412:00crwdne2947412:0

crwdns2917038:0crwdne2917038:0

crwdns2936625:0crwdne2936625:0:

crwdns2936751:024crwdne2936751:0 0

crwdns2936753:07crwdne2936753:0 5

crwdns2936753:030crwdne2936753:0 34

crwdns2942667:0crwdne2942667:0 1,608