crwdns2915892:0crwdne2915892:0
If you're experiencing diminished engine performance or noticing issues like misfires in your 2021 Hyundai Veloster N, it might be time for a spark plug replacement. Spark plugs play a pivotal role in the combustion process, and a worn-out set can lead to reduced fuel efficiency and power.
In this guide, we'll walk you through the step-by-step process of replacing your spark plugs efficiently. Even if you're not a seasoned mechanic, this guide is designed to be user-friendly, providing clear instructions and visual aids to make the process accessible for those with an average to below-average technical background.
Before diving into the steps, take a moment to ensure you have all the necessary tools and new spark plugs laid out on a clean workspace. This guide will cover everything from disconnecting the battery to torqueing the new spark plugs to the proper specifications.
Remember, regular spark plug maintenance is essential for the longevity and optimal performance of your vehicle. Before beginning, place your car in park, engage the parking brake, and power off the ignition.
Let's get started on revitalizing your 2021 Hyundai Veloster N's engine!
crwdns2942213:0crwdne2942213:0
-
-
Pull the hood latch inside your vehicle.
-
-
-
Open the hood and use the hood stick to prop it up securely.
-
-
-
Use a 10 mm socket wrench to remove the bolt from the negative battery terminal.
-
-
-
-
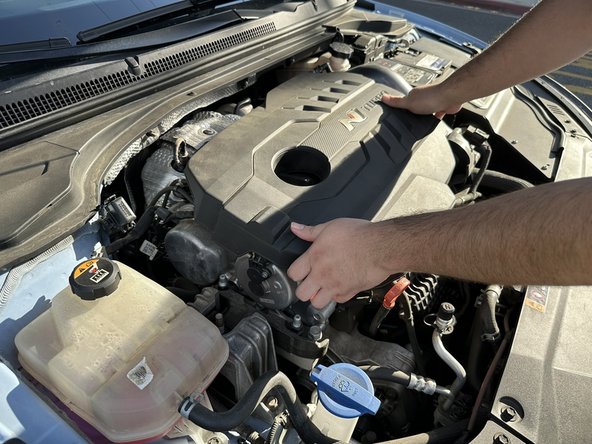
Carefully detach the engine cover with your hands and set it aside.
-
-
-
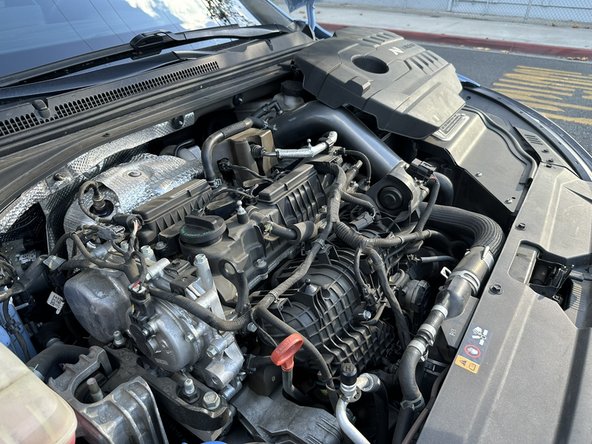
Identify the spark plugs on top of the engine.
-
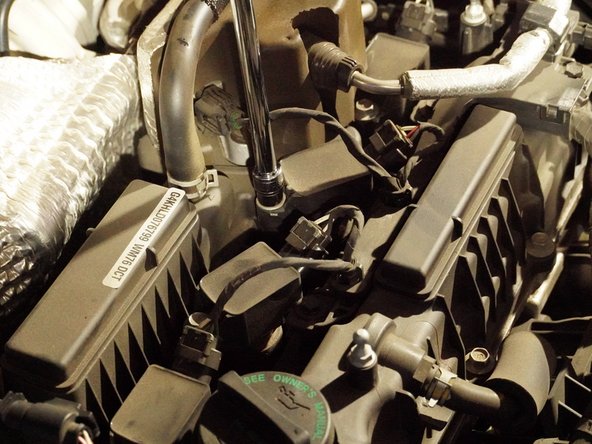
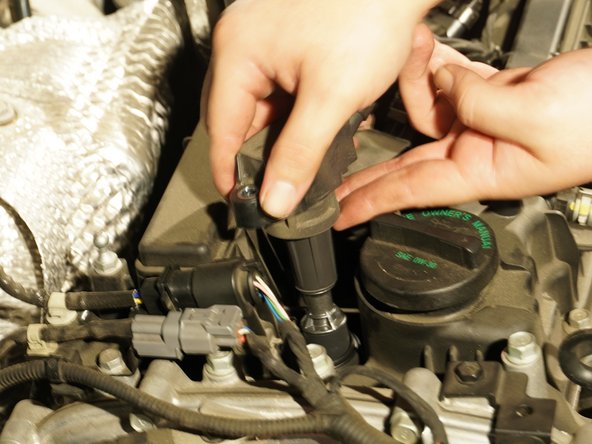
Remove the bolts securing the spark plugs using a 10 mm socket, extension, and wrench.
-
Gently pull out the spark plug wires.
-
-
-
Utilize a spark plug socket, extension, and wrench to carefully remove all four spark plugs.
-
-
-
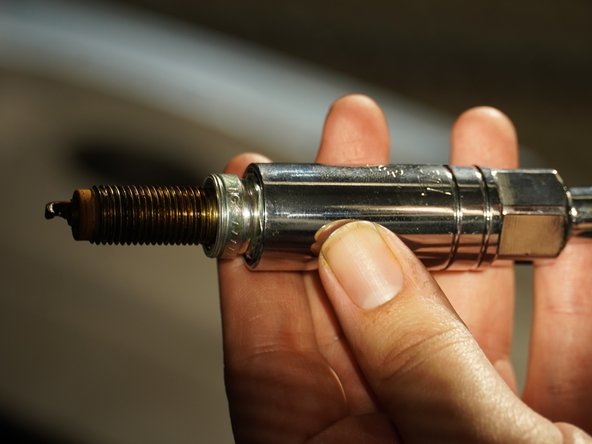
Verify the proper factory gap on the new spark plugs using a Spark Plug Gap Gauge.
-
-
-
Place a new spark plug into the spark plug socket.
-
Torque each spark plug to 18 ft-lbs.
-


To reassemble your device, follow these instructions in reverse order.
To reassemble your device, follow these instructions in reverse order.
crwdns2935221:0crwdne2935221:0
crwdns2935227:0crwdne2935227:0

crwdns2915084:0crwdne2915084:0

CSU Los Angeles, Team 1-30, Briggs Fall 2023 crwdns2935289:0CSU Los Angeles, Team 1-30, Briggs Fall 2023crwdne2935289:0
CSULA-BRIGGS-F23S1G30
crwdns2934841:01crwdne2934841:0
crwdns2935303:01crwdne2935303:0