crwdns2915892:0crwdne2915892:0
This Guide is based on replacing the exhaust camshaft control solenoid, specifically the uppermost of the three. ODBII Code is P0014.
Symptoms are the car shaking like it's about to stall and the revs bouncing around at idle. The check engine light will come on after this occurs. You will probably have had to rev the engine to get the engine to idle steadily.
When you scan your car (or have it scanned) with an ODBII reader you will get a code of P0014. Below is the reading from our Rogue:
Car Scanner ELM OBD2
Version: 1.118.0/401180/GP
DTC report
Connection profile: Nissan Rogue T32 2014-2020 Date: 7/9/2025 4:09:01 PM
VIN: KNMAT2MV5GP******
============================
OBD-IIOBD-II
DTCs: 1
----------------------------
P0014 [0x0014]
Camshaft position (CMP) actuator, exhaust/right/rear, bank 1 - timing over-advanced/system performance
B Camshaft Position - Timing Over-Advanced or System Performance (Bank 1)
Status: Confirmed
============================
Engine control unit Engine control unit
DTCs: 1
----------------------------
P0014 [0x0014]
Camshaft position (CMP) actuator, exhaust/right/rear, bank 1 - timing over-advanced/system performance
B Camshaft Position - Timing Over-Advanced or System Performance (Bank 1)
Status: Pending fault present, Test conditions are met, Test is inhibited by other DTC, Validated fault present at time of request, Validated fault has been present during this drive cycle
============================
crwdns2942213:0crwdne2942213:0
-
-
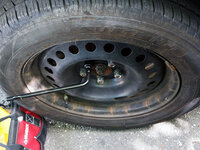
Before you raise the car, loosen the lug nuts on both wheels so you can check your brake wear whilst you have the car up on stands. If you know your brakes are new and good, just loosen the Passenger side (US) wheel lugs. On steel wheels, the lugs were too tight to remove with the Nissan wrench, I used a breaker bar and 21mm Socket!
-
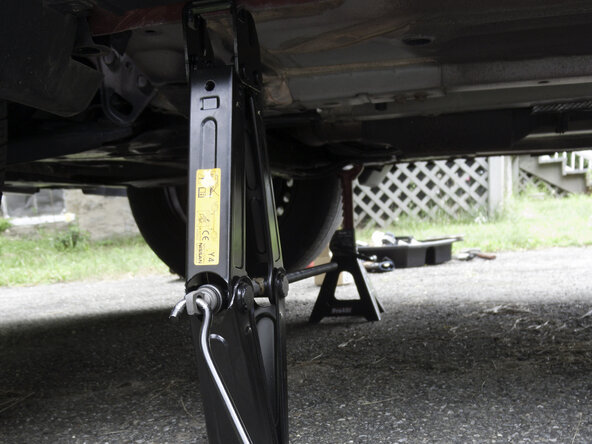
Jack up the front of the car and support it on a pair of axle stands. There are no obvious axle stand points. Find a couple of structurally sound points to place the stands. I'd put chocks under the back of the rear wheels. When I parked, I placed the car in Neutral to ensure it was on level ground. Once on the stands, put the parking brake on!
-
Once you have removed the right side wheel (US passenger side). You will see a plastic cover held on by four or five plastic push clips. Remove this cover to gain more access to the engine bay. Some Nissans have a hole you can access the Solenoid from, the Rogue does not! You have to access it from below.
-
-
-
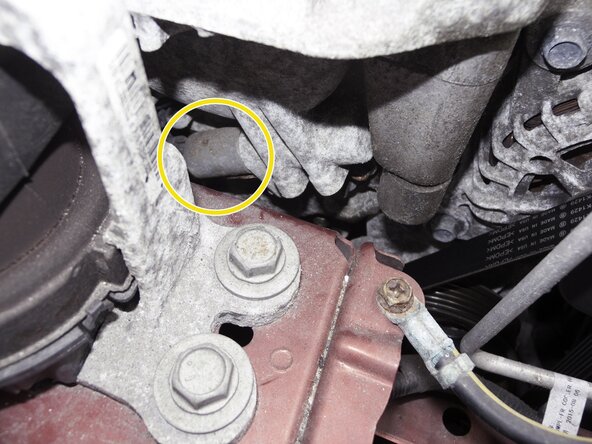
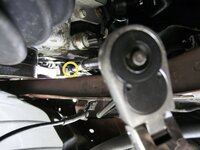
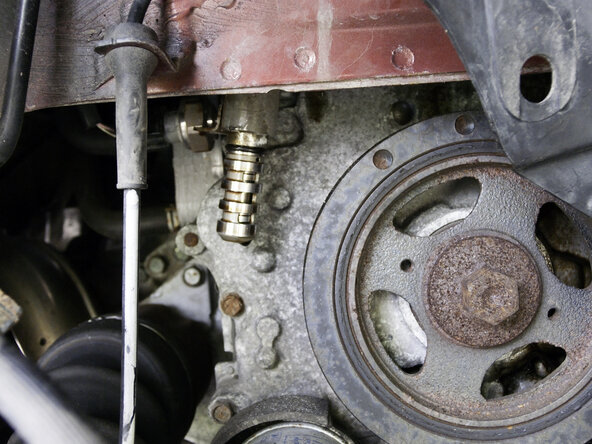
Removing the Exhaust valve timing control solenoid valve. Many YouTube videos will say to jack up the engine and remove the engine mount. You do not need to do this; the part can be replaced from below. The first photograph shows the solenoid's position viewed from above. As you can see, the engine mount blocks access to it from above.
-
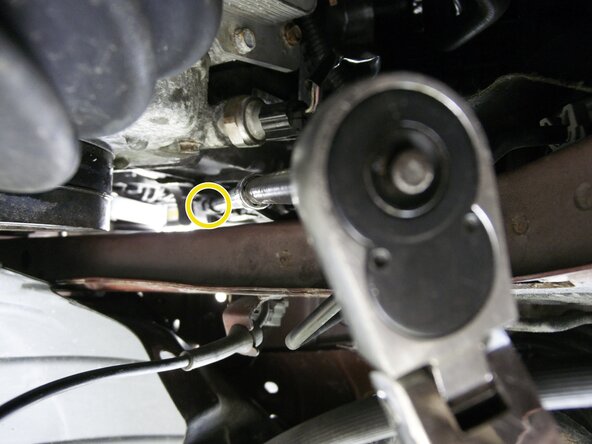
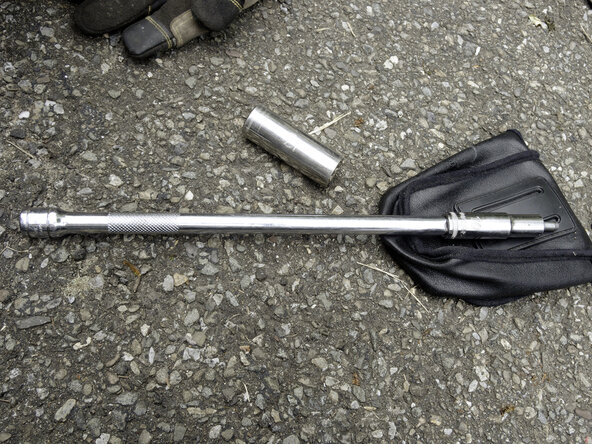
Using around 16 inches of extension bars and a 10mm socket, I used a deep socket. Lie under the wheel arch and reach up to the single retaining bolt. Unscrew it and carefully retract your extensions so as not to drop the bolt.
-
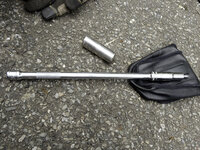
The final photograph shows the longest of the two extenders with a 10mm deep socket, and the retaining bolt still in the socket!
-
-
-
-
Before you unplug and remove the solenoid be aware that oil will come out with it and land right on top of the drive wheel and belt! You can cover this whole area with shop cothes! I did not do this and had to use brake cleaner to get rid of the oil!
-
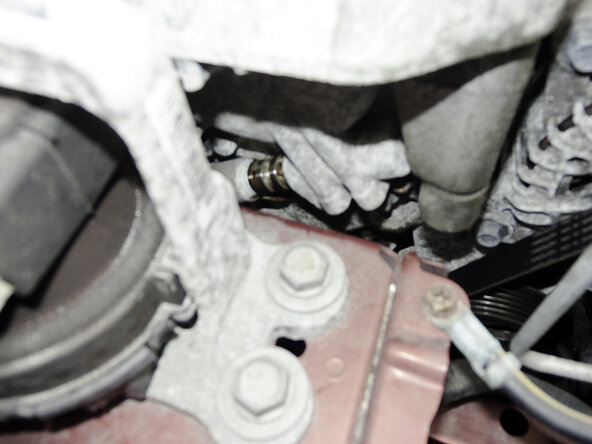
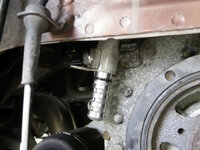
The first photo shows the Solenoid being removed from the engine. You can use a flat-blade screwdriver to get it started, then pull it all the way out and let it drop so you can unplug it. To unplug the solenoid, squeeze the Tab on the plug. I used Long-Nose Locking Pliers to depress the Tab and hold the plug while pulling off the solenoid.
-
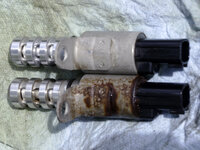
The last photograph shows the bad Solenoid on the bottom covered in rust, and you can see that the back by the connector is heavily corroded. Rust probably formed on the Armature, causing the Solenoid to stick open or closed. Above is the replacement used OEM part. The car it came from was not from the rust belt and is in perfect condition.
-
-
-
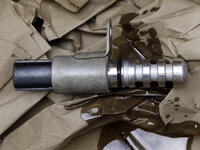
Before installing the new Solenoid, pour some clean engine oil on it! You do this to protect the O-Ring seal from damage when you fit the part!
-
To replace the solenoid, connect it to the wiring harness, then you are going to lie on your back under the wheel arch so you can see the hole it goes in. Holding the body, you reach up with it, and very carefully locate in its hole and push it in! Leave it out a little, the distance between the o-ring and the body.
-
You can now use your extensions to place the screw through the Solenoid's mounting hole, align it with the hole in the engine and slowly screw it tight!
-
-
-
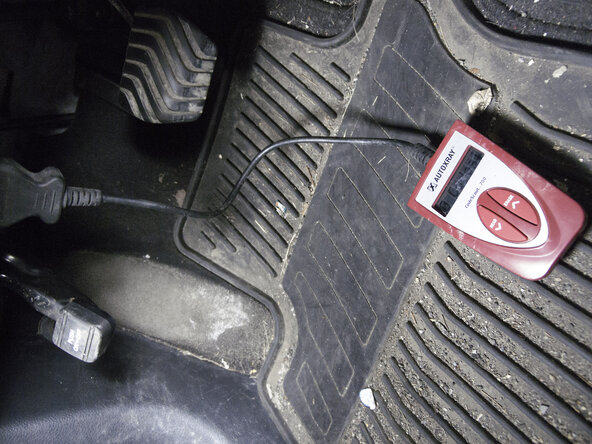
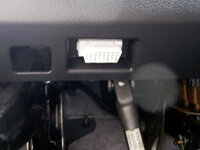
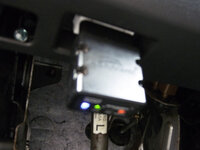
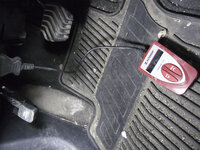
Once the solenoid has been successfully replaced. Plug in your chosen OBDII tool into the port located below the steering column and slightly to the left. (See photos). Turn the key to accessory and use your tool to clear the code!
-
Once you have cleared the code, start the engine to make sure the new part is good. Turn off your engine.
-
You can now check your front brake wear. Clean and spray up any rust, replace broken or missing plastic push clips. On steel wheels, you may want to spray over any rust on the inside of the wheel where it mounts. Clean and put grease around the centre that passes through the rotor, and apply anti-seize compound to the threads of the wheel lugs.
-


To reassemble your device, follow these instructions in reverse order.
To reassemble your device, follow these instructions in reverse order.
