crwdns2915892:0crwdne2915892:0
Prior to completing this guide, refer to the troubleshooting link at the bottom of the introduction and if issues still occur, continue with this guide.
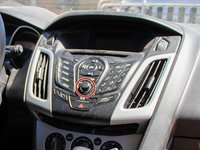
The Ford Focus SE is an automatic hatchback car produced in 2013. The stereo component is used for blue-tooth connectivity that allows music and phone operations from an external device. The stereo also has a built in CD compartment to play music.
The stereo component of the car would sometimes produce loud pops or static noise from the speakers on the door panels. If your Ford Focus SE stereo is producing loud static noises or is not working properly, this guide will show you how to replace the stereo in the car without having to go to a mechanic or dealership to install it.
Before starting on this guide make sure the car is completely off the entire time and refer to the links below for assistance outside of this guide.
For troubleshooting the stereo, refer to this link:
https://owner.ford.com/support/how-tos/s...
For connecting your phone to the “SYNC-Phone” option, refer to this link :
crwdns2942213:0crwdne2942213:0
-
-
Unlock the car using the unlock button on the key fob or inserting the key into the door.
-
Open the car door.
-
-
-
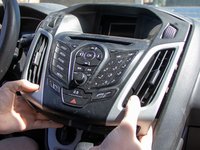
Use the T20 Torx screwdriver to remove the two 19 mm torx screws under the lip of the stereo panel.
-
-
-
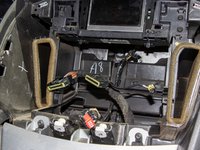
Unplug the stereo connector from the panel and set aside the panel.
-
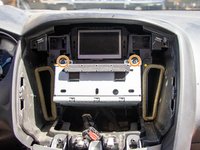
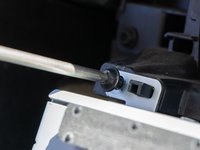
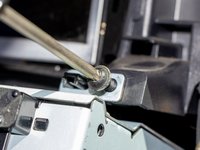
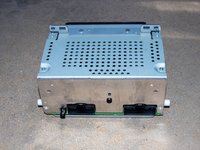
There are two Torx screw's attached to the stereo box.
-
-
-
-
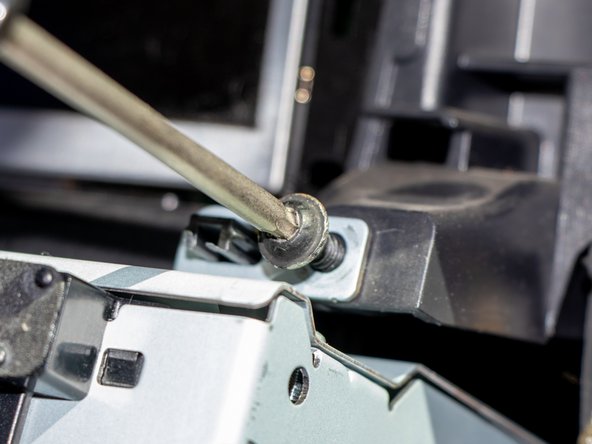
Use the Torx T20 screwdriver to unscrew the top left and top right 19 mm screws.
-
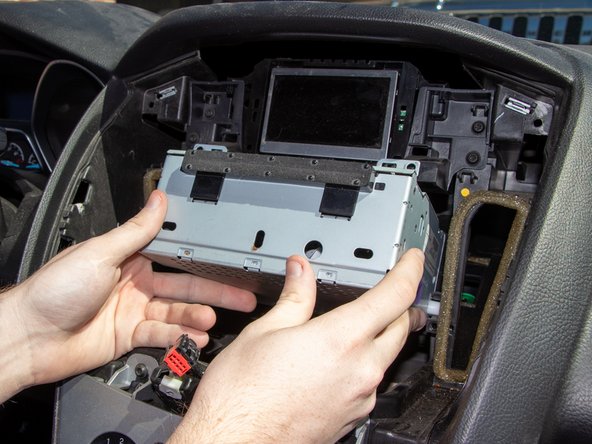
Slowly remove the stereo box from the screw connectors.
-
-
-
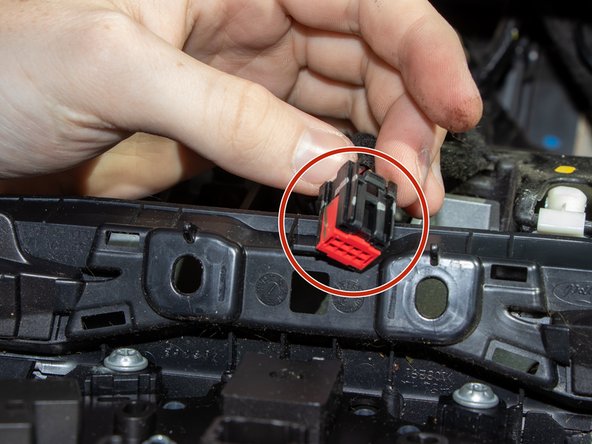
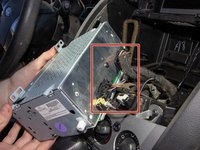
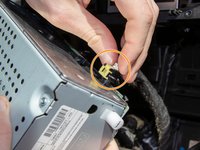
Once the stereo box is removed from connectors, there will be 3 cords attached to the box.
-
Carefully push down on the clamp to disconnect the yellow wire on the far left of the box.
-
Push down on the clamps in the middle to remove the middle wire.
-
Push down on the clamps in the middle to remove the far right wire.
-
-
-
Once the wires are disconnected, safely remove the stereo box.
-
-
-
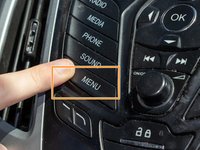
Press the center stereo button to turn the stereo on.
-
Press the menu button.
-
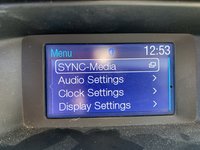
Press the OK button on SYNC-Media.
-
-
-
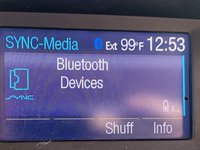
Use the arrow buttons on the stereo panel to navigate to the " Bluetooth Device" page.
-
Press OK on the " Bluetooth Device" page.
-
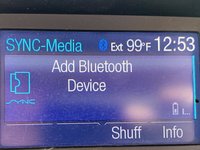
Navigate to the "Add Bluetooth Device" page using the arrow buttons and press OK.
-
Follow on screen prompt to connect to Bluetooth.
-


To reassemble your device, follow these instructions in reverse order.
To reassemble your device, follow these instructions in reverse order.
crwdns2935221:0crwdne2935221:0
crwdns2935229:03crwdne2935229:0
crwdns2915084:0crwdne2915084:0

Embry-Riddle Aeronautical University, Team S3-G11, Cromer Twal Fall 2020 crwdns2935289:0Embry-Riddle Aeronautical University, Team S3-G11, Cromer Twal Fall 2020crwdne2935289:0
ERAU-CROMER TWAL-F20S3G11
crwdns2934841:01crwdne2934841:0
crwdns2935297:03crwdne2935297:0
crwdns2947412:04crwdne2947412:0
Great instructions, but the first step for how to remove the cover over the two torques screws is missing. Would really like to know how to remove that cover.
Why have the instructions been edited, yet my simple, specific question has not been addressed?
Todd, you just have to stick a small flat head in any of the 4 inserts and mine popped right out.
My question is, does the replacement radio need any type of dealership reprogramming or is it just plug and play?