crwdns2915892:0crwdne2915892:0
This guide provides step-by-step instructions for replacing the overhead light bulb and switches in a 2011 Honda Pilot. This process applies specifically to the 2011 model but may also be compatible with other Honda Pilot models of the same generation (2009–2015).
By following this guide, you will restore the functionality of the overhead light and switch, ensuring a well-lit inside and operational controls. This is particularly useful for improving visibility and convenience during nighttime driving or using interior lighting for other tasks.
Tips and Warnings:
- Before starting, make sure the vehicle is off, to avoid any unnecessary complications.
- Handle the light bulb carefully to avoid breakage and potential cuts.
- If your vehicle has swollen or leaking batteries, address this separately as it poses a significant safety risk.
With all that out of the way, let’s get started!
crwdns2942213:0crwdne2942213:0
-
-
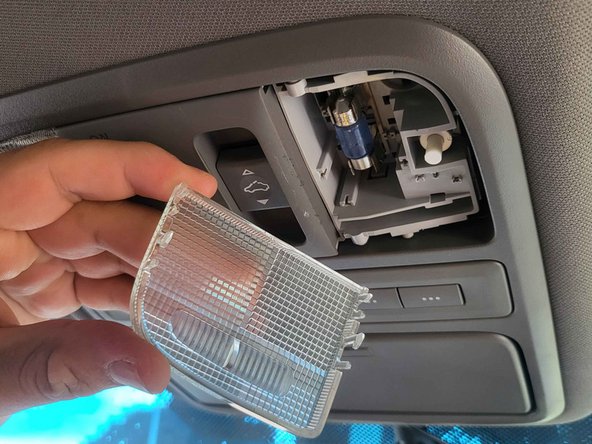
Use a plastic pry tool to detach the light cover.
-
-
-
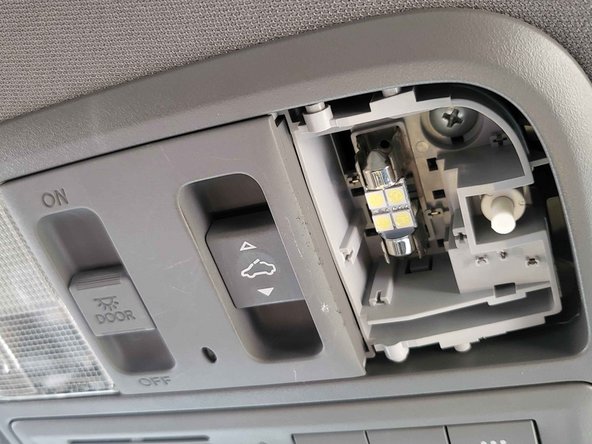
Use the pry tool to the light and attach the new one inside of the clamps that hold the bulb.
-
-
-
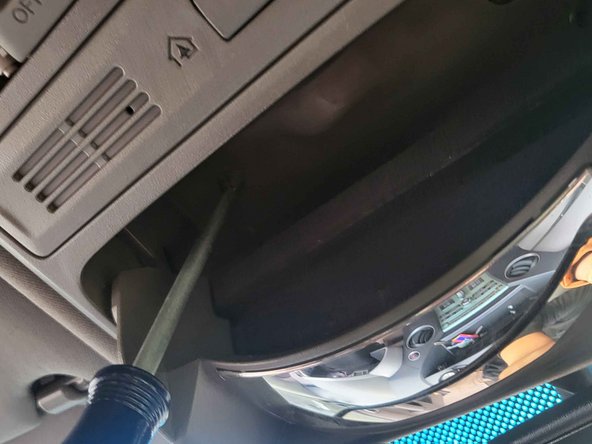
Remove the screws inside of the unit using a Phillips #00 screwdriver.
-
-
-
-
Open the sunglasses case.
-
Use a Phillips #00 screwdriver to remove the screws.
-
-
-
Press down on the four cable clamps to detach them.
-
-
-
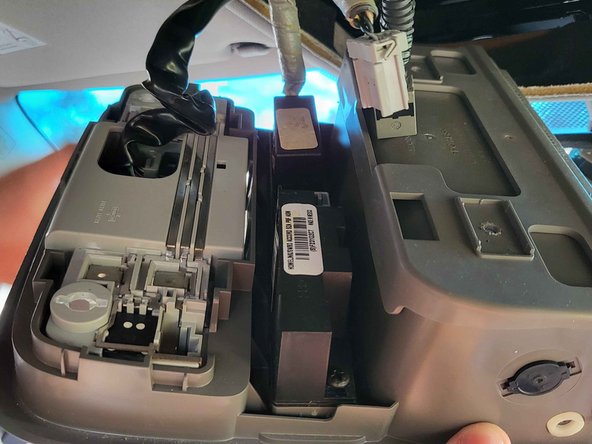
After detaching all cables, the unit should look like this and come right off.
-
-
-
Insert a plastic pry tool inside this little slot. Once you do, flick up to release this middle part from the unit.
-
-
-
Insert a prying tool into the button switch. Then push out to flick out the button.
-
Once the button has fallen out, insert the new switches by sliding them back where the old ones were.
-


To reassemble your device, follow these instructions in reverse order.
To reassemble your device, follow these instructions in reverse order.
crwdns2935221:0crwdne2935221:0
crwdns2935227:0crwdne2935227:0
crwdns2915084:0crwdne2915084:0

CSU Los Angeles, Team 3-1, Harris Fall 2024 crwdns2935289:0CSU Los Angeles, Team 3-1, Harris Fall 2024crwdne2935289:0
CSULA-HARRIS-F24S3G1
crwdns2931471:02crwdne2931471:0
crwdns2935303:01crwdne2935303:0