crwdns2915892:0crwdne2915892:0
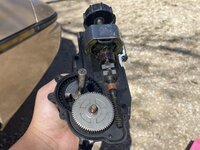
The 1986 Pontiac Fiero is known for its unique pop-up headlights. Over time, the plastic gears inside the headlight motors can wear down. When this happens, the headlights may not raise or lower properly, or could even make a loud grinding noise when moving.
Replacing the motor gear is a common repair to restore the function of the pop-up headlights without replacing the entire motor. Before starting this repair, make sure the car is turned off and the headlights are fully lowered. The first step is to disconnect the battery to avoid electrical shock or have the headlights move unexpectedly while working. Try to perform this repair in a space with enough room and light to access the headlight parts comfortably.
This guide will walk you through the steps to safely replace the motor gear and get your headlights working the way they should. The photos in this guide show the process of the right headlight being changed, but the same steps apply for the left side as well.
crwdns2942213:0crwdne2942213:0
-
-
Open the hood and prop it open for easy access.
-
Locate the battery and two terminals, black (-) and red (+).
-
Use a wrench to loosen the nut and disconnect the negative (black, minus sign) terminal, apply the same method to the positive (red, plus sign) terminal.
-
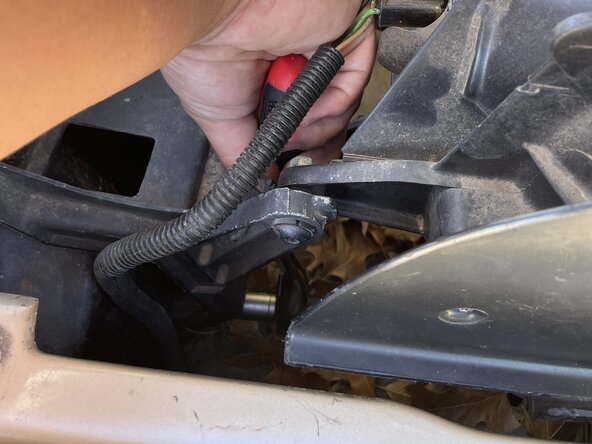
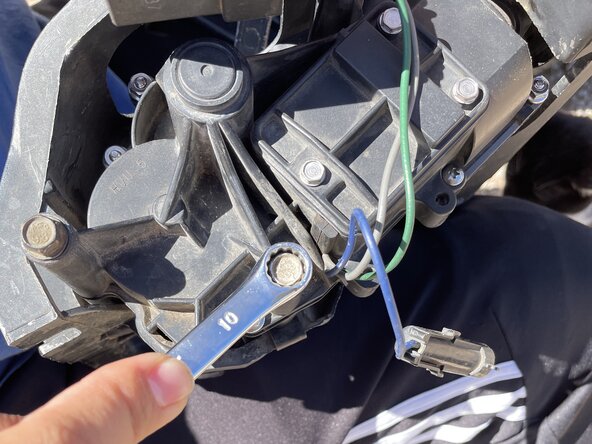
Disconnect the headlight from its spot by removing the four bolts connected to it with a 10mm socket and wrench.
-
Disconnect the headlight power cable that leads to the lightbulb, then remove the headlight from its spot while disconnecting the remaining wires.
-
-
-
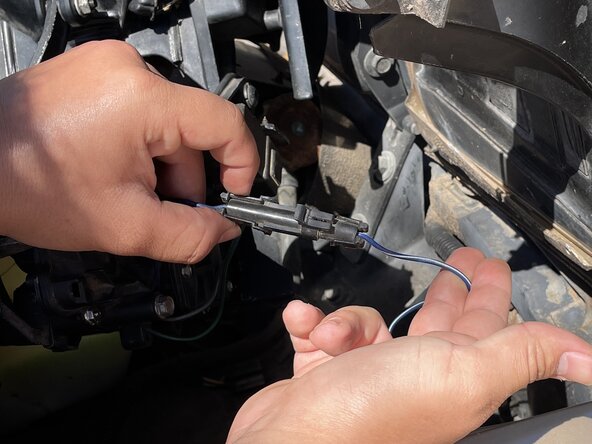
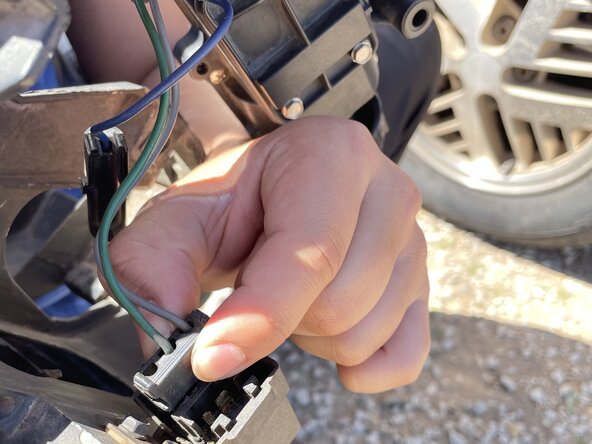
You should see a blue and red wire connected to the battery.
-
Disconnect the blue wire that leads to the motor and the red wire harness that leads to the headlight relay.
-
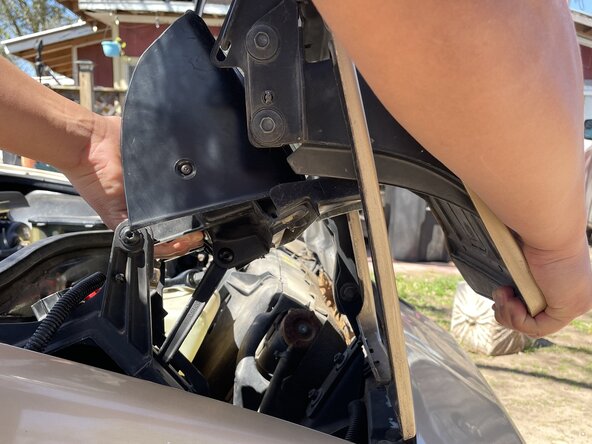
Now, you can move the headlight to a clean working space for the next steps.
-
-
-
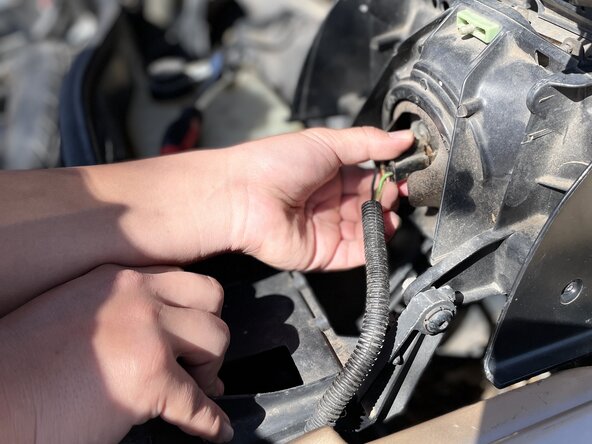
Remove the headlight from the housing frame.
-
-
-
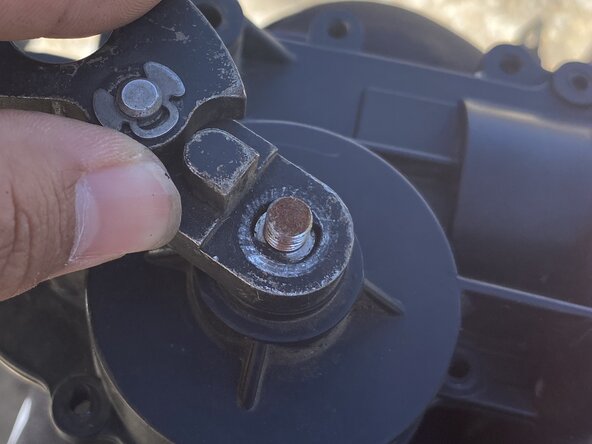
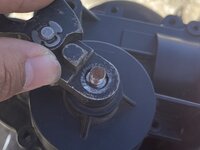
On the motor, there should be three screws securing it to the headlight casing.
-
Remove the motor from the headlight by removing those three screws around the motor as well as the screws on the motor arm.
-
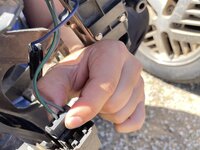
Use the 1/4" Allen wrench to hold the arm screw in place.
-
-
-
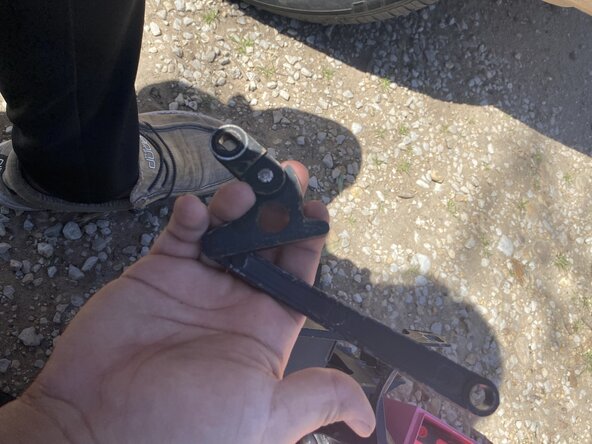
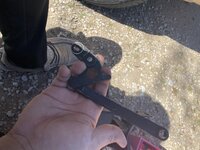
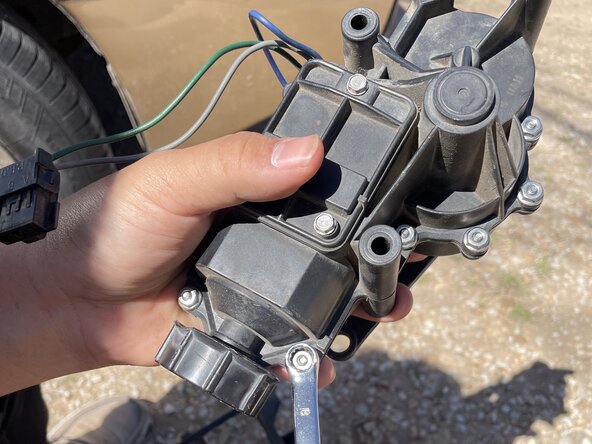
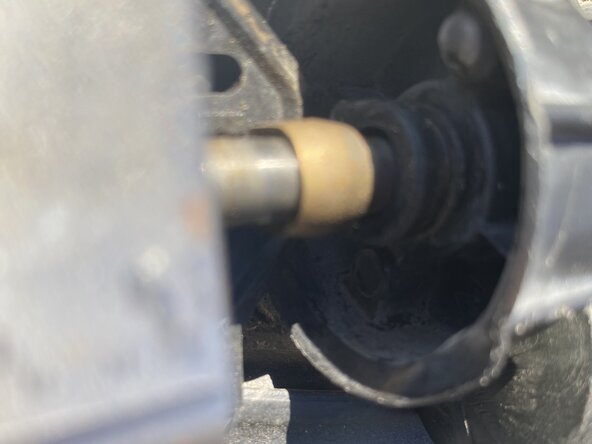
Remove the motor from the headlight casing and remove the last connection from the relay.
-
-
-
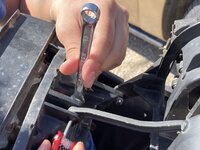
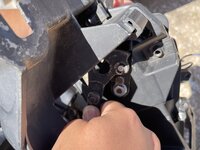
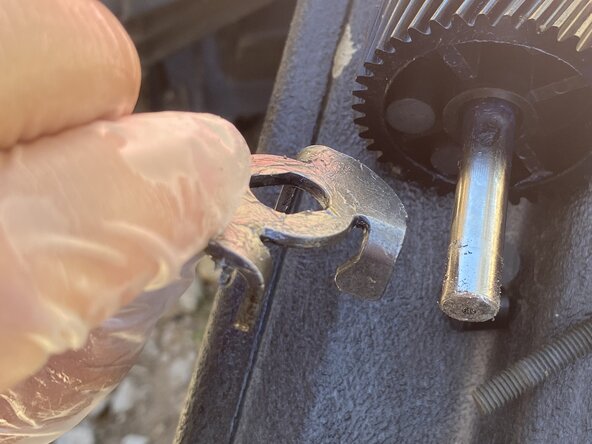
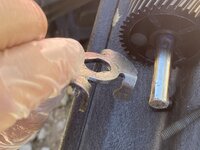
To remove the nut on the arm, turn the wrench counter-clockwise.
-
-
-
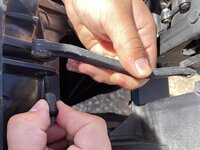
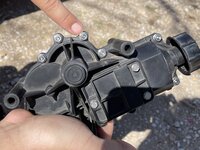
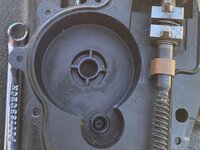
Now, you will need to remove the casing.
-
Remove the screw using the 8mm wrench and a Philips head screwdriver.
-
-
-
Take a 1/8" drill bit and drill through the rivets holding the casing closed.
-
-
-
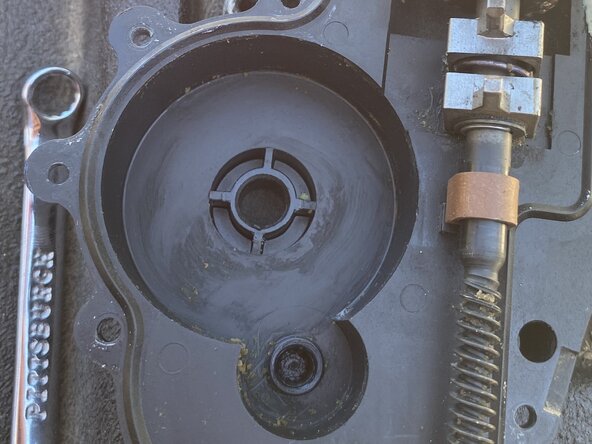
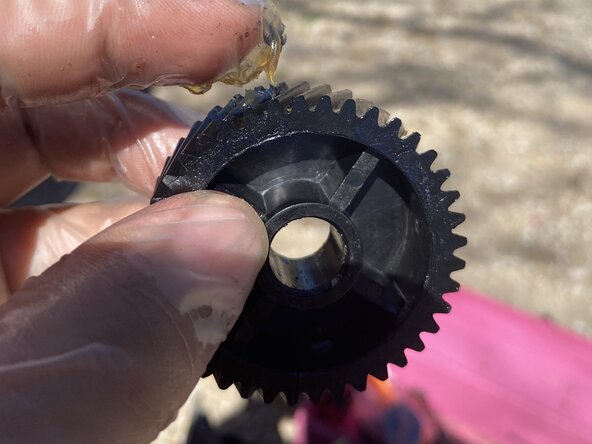
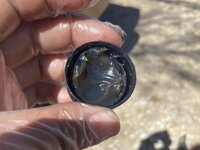
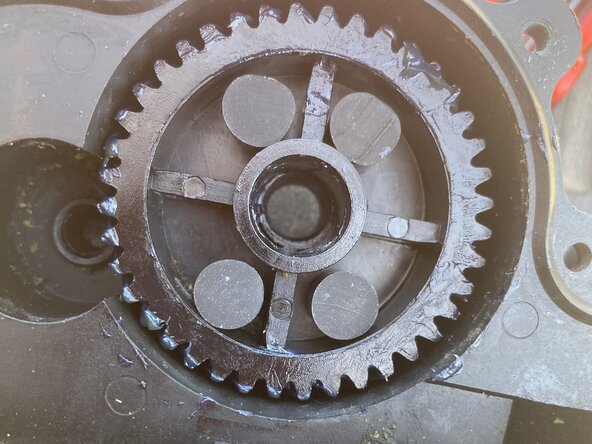
When removing the cover you should see two gears: one metal and one plastic. There should also be a metal lever in between the gears.
-
Remove both of the gears and the lever.
-
-
-
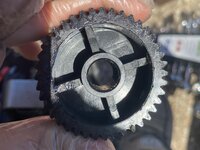
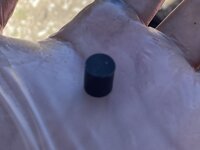
The plastic gear may have plastic shavings or dried grease on it so you will need to clean out the casing.
-
The lever may have leftover rubber spacing coating on it, if left unchecked the residue will cause problems so you will need to clean this.
-
-
-
Put new grease on a new plastic gear, then replace the old plastic gear in the motor.
-
-
-
Put new rubber spacers in the far corners of the inside of the plastic gear.
-
-
-
Put in the lever and make sure it fits snugly.
-
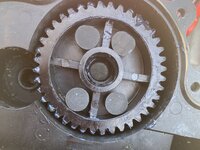
Once that is in place, put the metal gear back on.
-
-
-
Put a resealing agent on the edges of the motor and close the casing again.
-
-
-
To reassemble, retrace the steps from step 7-1.
-


Hopefully these steps worked for you and your headlight is working like new! If you're still having trouble just leave a comment either on a specific step or for the full guide, someone should be able to help you out. If not, their are plenty of helpful guides and forums out there to point you in the right direction. Nice work!
crwdns2935287:0crwdne2935287:0

Austin Community College, Team 1-7, Kapoor Spring 2025 crwdns2935289:0Austin Community College, Team 1-7, Kapoor Spring 2025crwdne2935289:0
AUSTINCC-KAPOOR-S25S1G7
crwdns2934841:01crwdne2934841:0
crwdns2935303:01crwdne2935303:0