crwdns2933423:0crwdne2933423:0

1. Y Axis Frame

crwdns2942213:0crwdne2942213:0

crwdns2936621:0crwdne2936621:0

  1. 1. Y Axis Frame, preparing the components: crwdns2935265:01crwdnd2935265:01crwdnd2935265:01crwdne2935265:0
    • 2 X axis member

    • 2 Y axis member

    • 4 L bracket (Printed or Laser cut)

    • 4 Rubber feet

    • 4 M8 x 40mm socket screws

    • 8 M6 x 12mm socket screws

    • 4 M6 x 20mm socket screws

    • 12 T-slot nuts

  2. 1. Y Axis Frame: crwdns2935265:02crwdnd2935265:01crwdnd2935265:03crwdne2935265:0 1. Y Axis Frame: crwdns2935265:02crwdnd2935265:02crwdnd2935265:03crwdne2935265:0 1. Y Axis Frame: crwdns2935265:02crwdnd2935265:03crwdnd2935265:03crwdne2935265:0
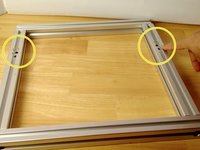
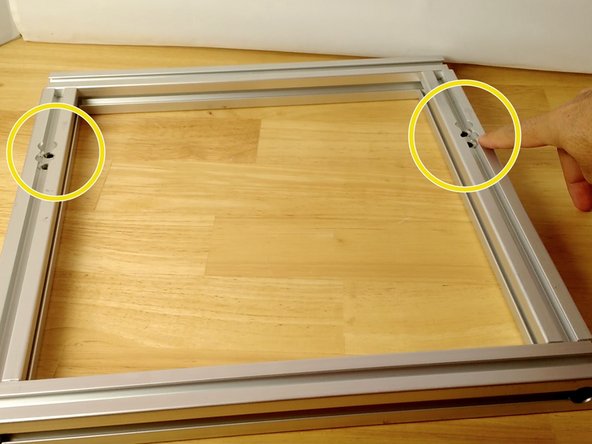
    • Make sure the sockets for the screws are aligned and in the same side.

    • Using the M8 x 40 screws, join the X and Y members

    • Tighten just enough to keep the frame assemble together.

  3. 1. Y Axis Frame: crwdns2935265:03crwdnd2935265:01crwdnd2935265:03crwdne2935265:0 1. Y Axis Frame: crwdns2935265:03crwdnd2935265:02crwdnd2935265:03crwdne2935265:0 1. Y Axis Frame: crwdns2935265:03crwdnd2935265:03crwdnd2935265:03crwdne2935265:0
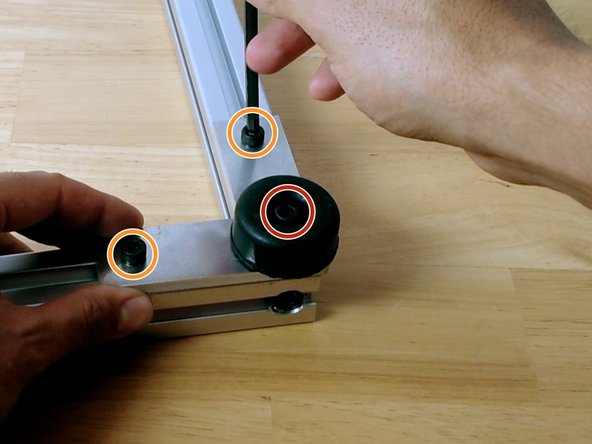
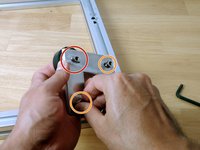
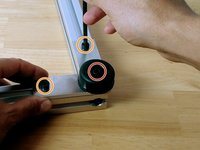
    • Locate the bottom of the frame, where the socket for the head of the screw is drilled.

    • On the L bracket place

    • 2 M6 x 12mm screws

    • 1 M6 x 20mm screw

    • Align on the extrusion and tighten the screws

crwdns2915888:0crwdne2915888:0

To reassemble your device, follow these instructions in reverse order.

crwdns2935227:0crwdne2935227:0
Juan Francisco

crwdns2935283:007/31/18crwdne2935283:0

152 crwdns2915208:0crwdne2915208:0

crwdns2935295:0crwdne2935295:0

crwdns2944067:00crwdne2944067:0

crwdns2917038:0crwdne2917038:0

crwdns2936625:0crwdne2936625:0:

crwdns2936751:024crwdne2936751:0 0

crwdns2936753:07crwdne2936753:0 1

crwdns2936753:030crwdne2936753:0 1

crwdns2942667:0crwdne2942667:0 301